
Vending Machine Type A (Vending A)
Vending Machine Type A (VendingA)
1) Vending machines that have up to 2 normally open pulse based coin acceptors, up to 6 item slots and a built-in normally open pulse based bill acceptor.
-
You will require the Vending A wire harness that has 9 wires on it.
-
Open up the vending machine and controller box.
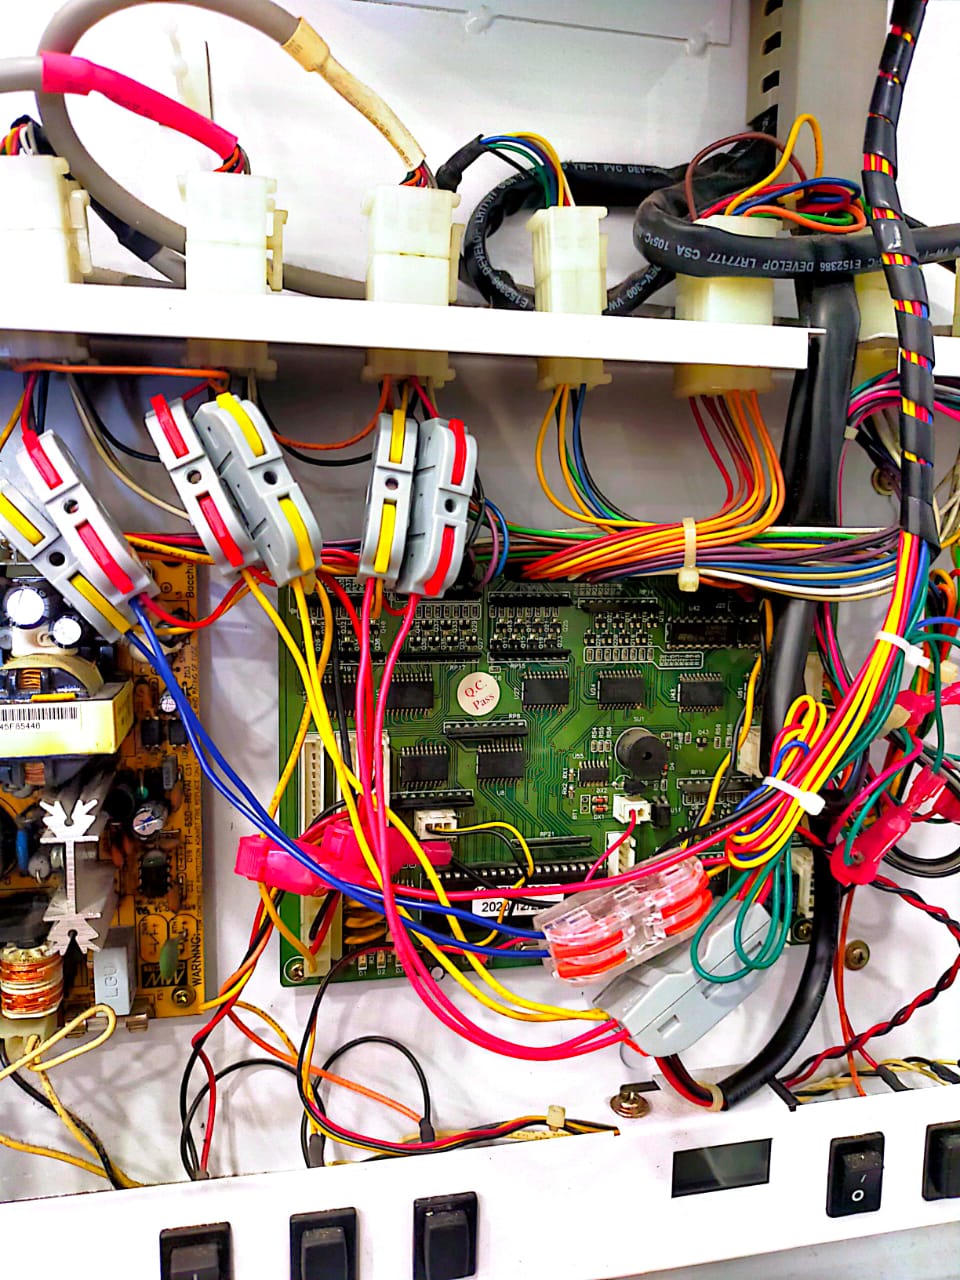 Example: Vending A Mother board
2) You will see the motherboard connections; connect the CA1 and CA2 terminals.
3) Attach 2 G-splice connectors to the green wires coming from the coin acceptors and connect them to CA1 and CA2 of the Alpha-3 wire harness.
4) Attach 1 G-splice connector to the blue wire coming from the bill acceptor and connect them to BA of the Alpha-3 wire harness.
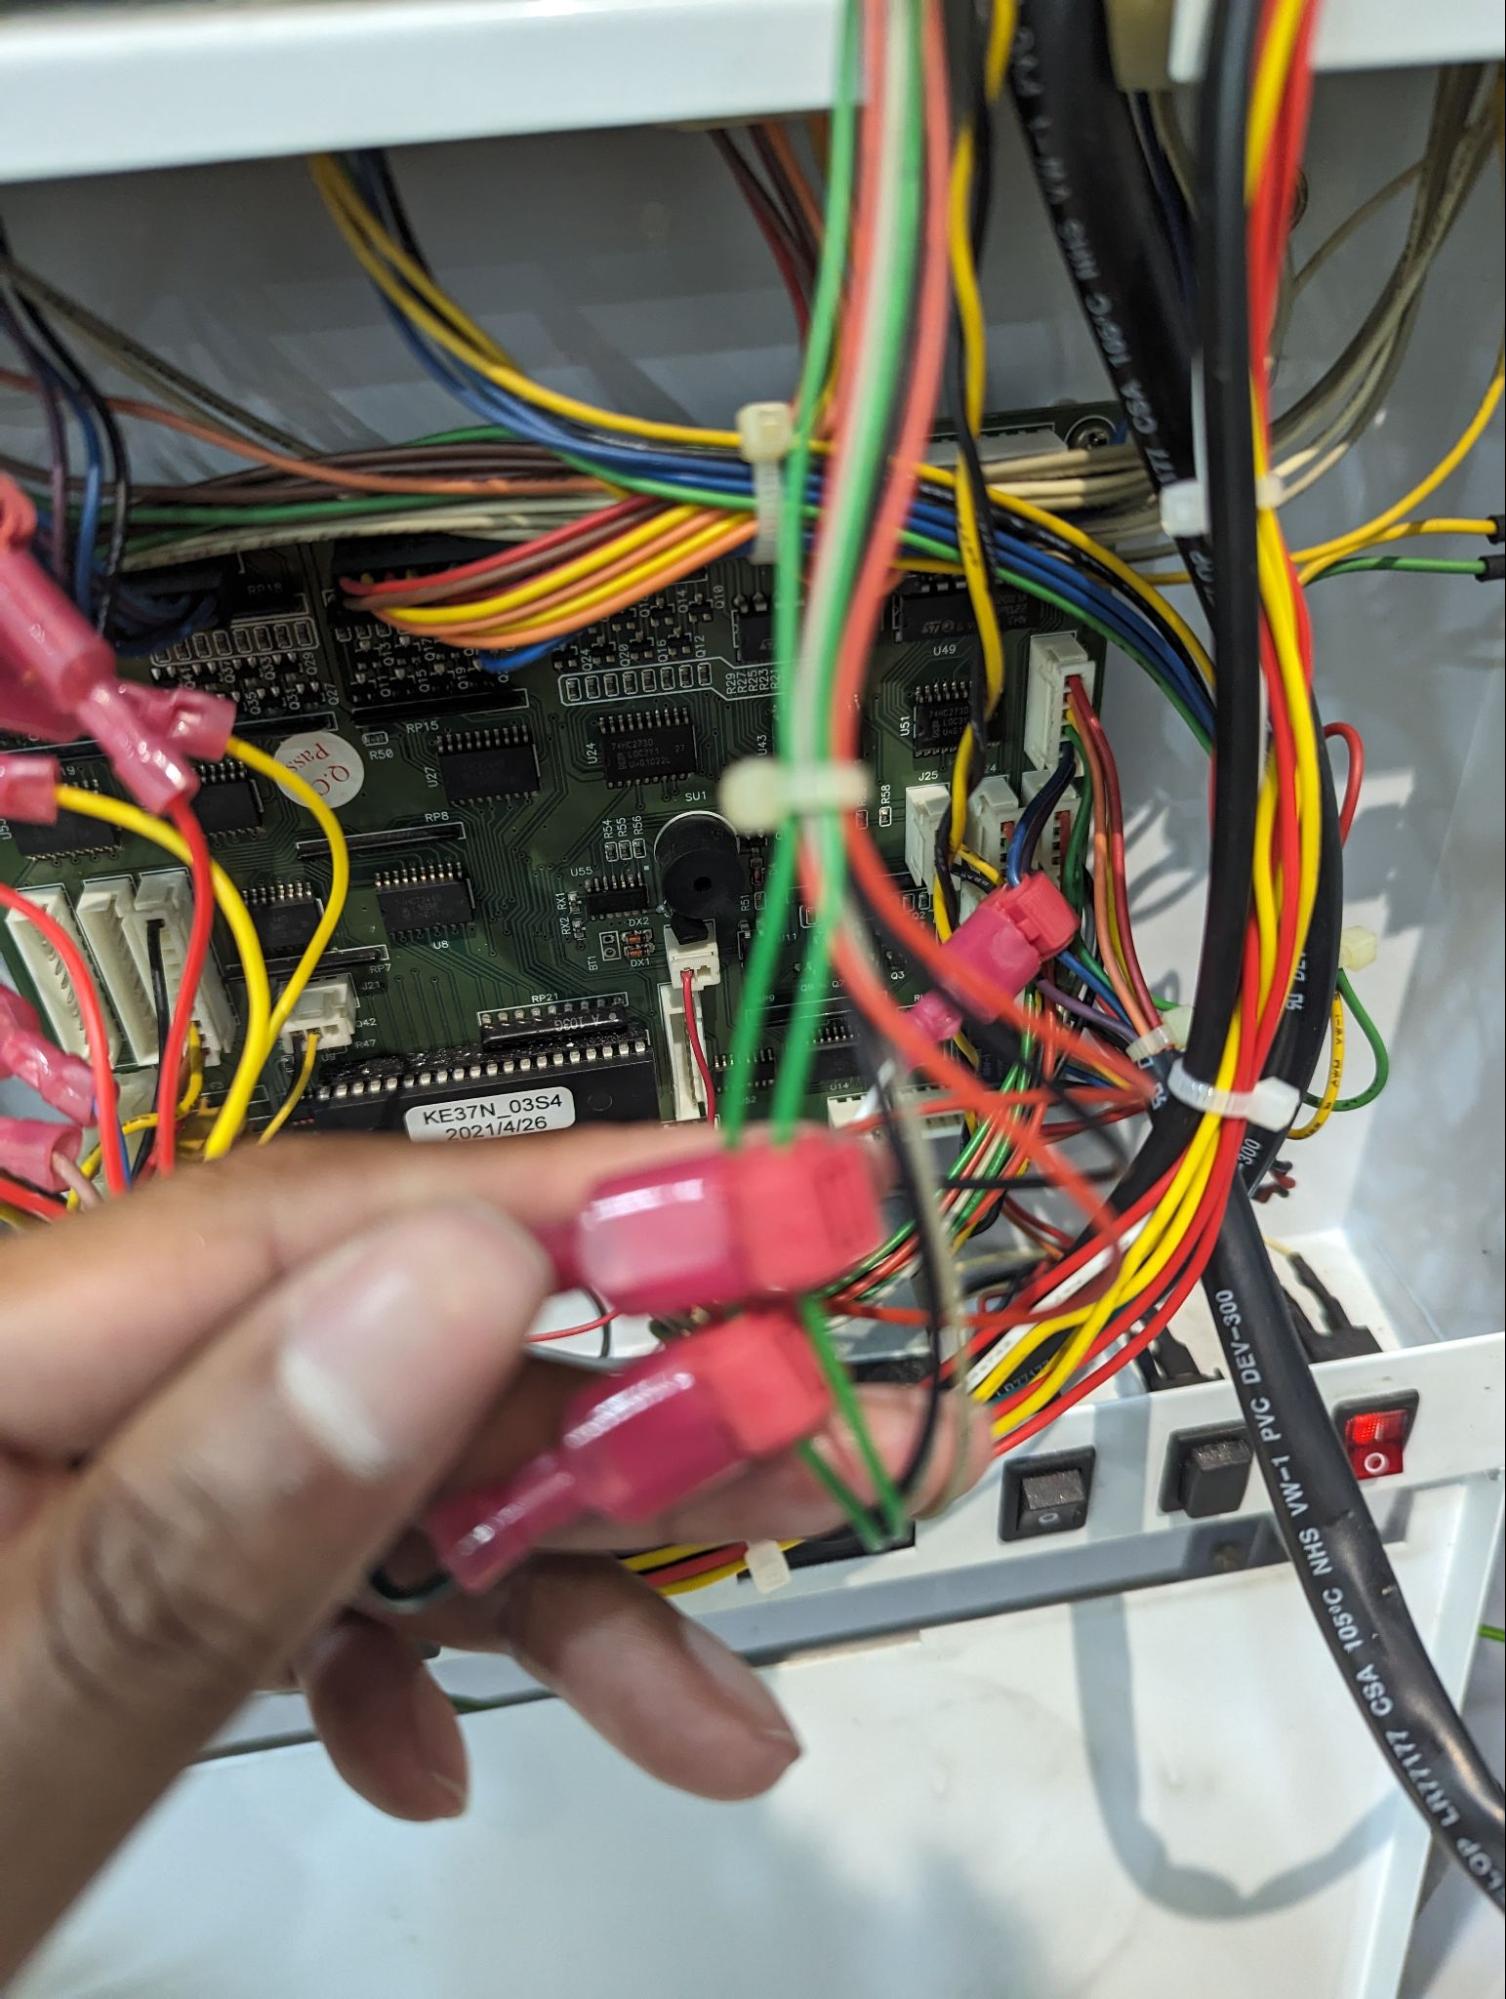
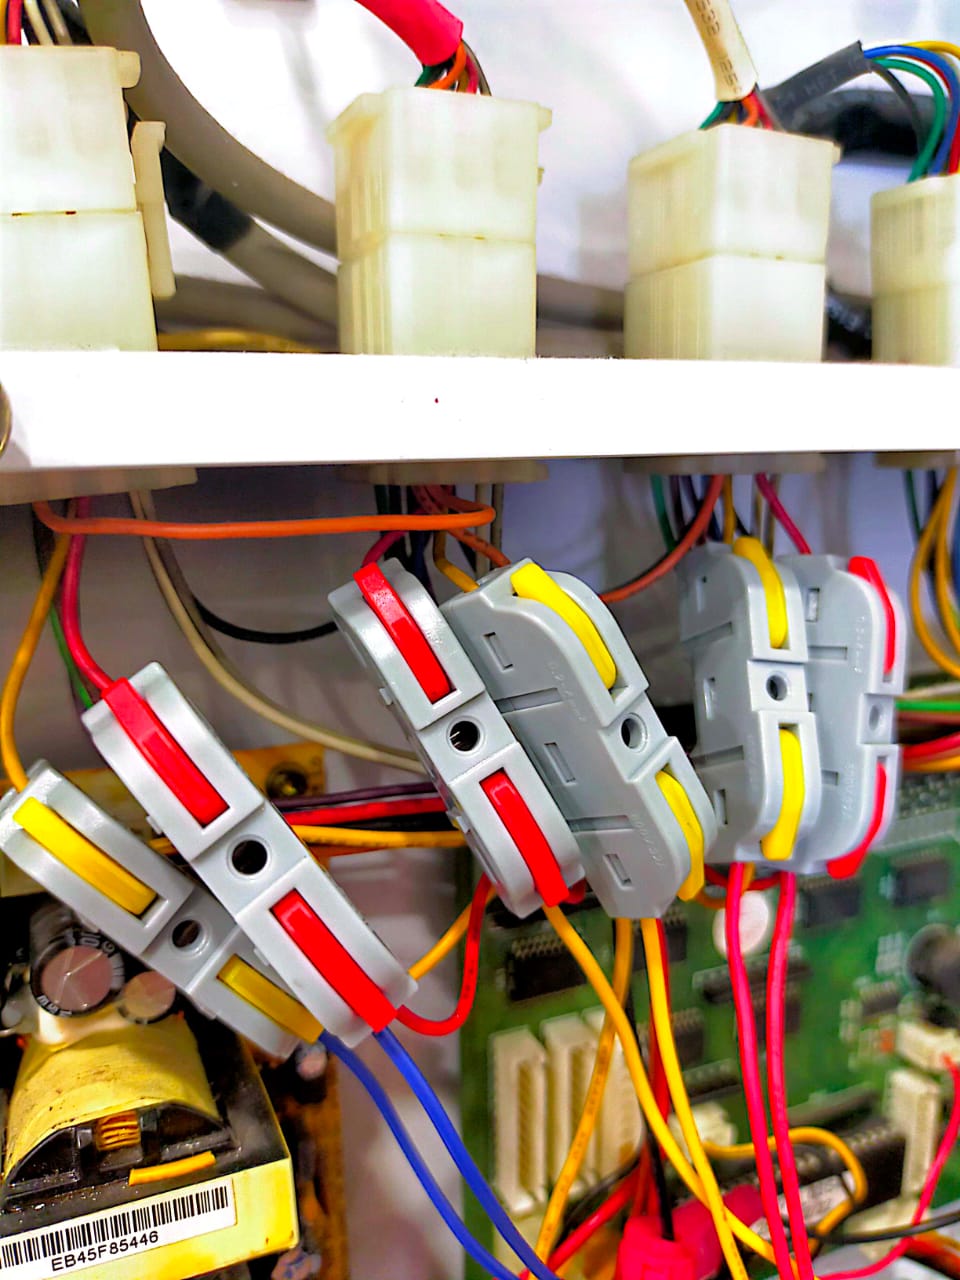 Example IN.1 to IN.6 (RED/YELLOW) connection
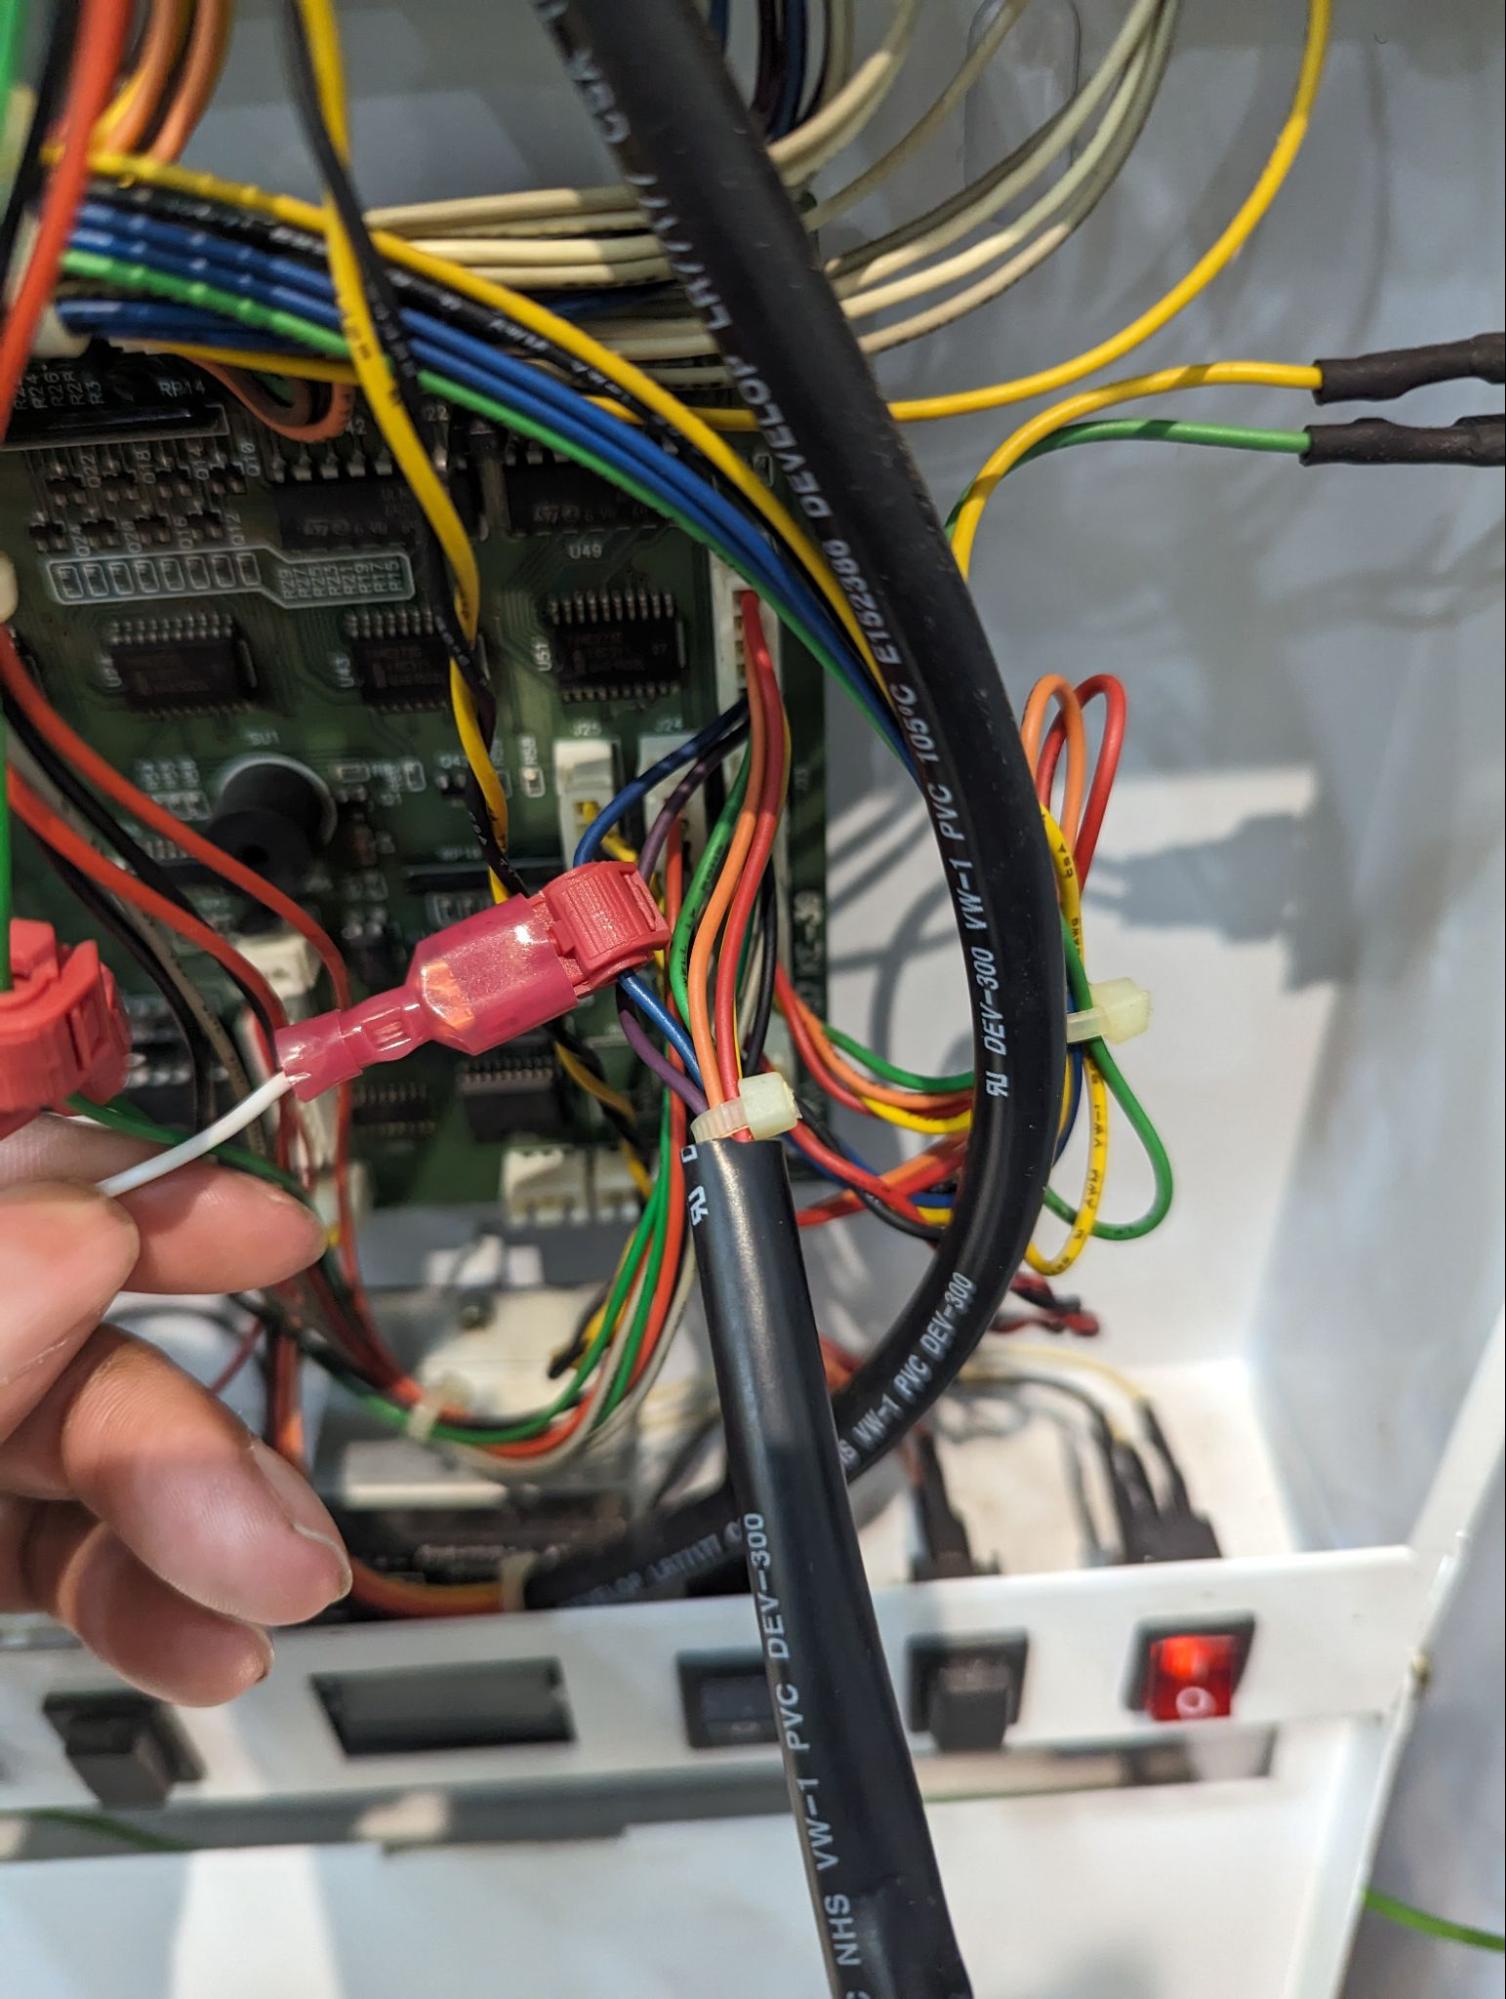
5) Attach 6 G-splice connectors to the red and yellow wires going to the dispenser motors. (Top 3 connectors on the left)
6) Starting from the right most, connect the following to the Alpha-3 wire harness
-
-
IN1 - Red wire of the right most connector.
-
IN2 - Yellow wire of the right most connector.
-
IN3 - Red wire of the next connector on the left.
-
IN4 - Yellow wire of the next connector on the left.
-
IN5 - Red wire of the next connector on the left.
-
IN6 - Yellow wire of the next connector on the left.
-
 ⚠️ Attention: Can follow the colour on the in numbers shows
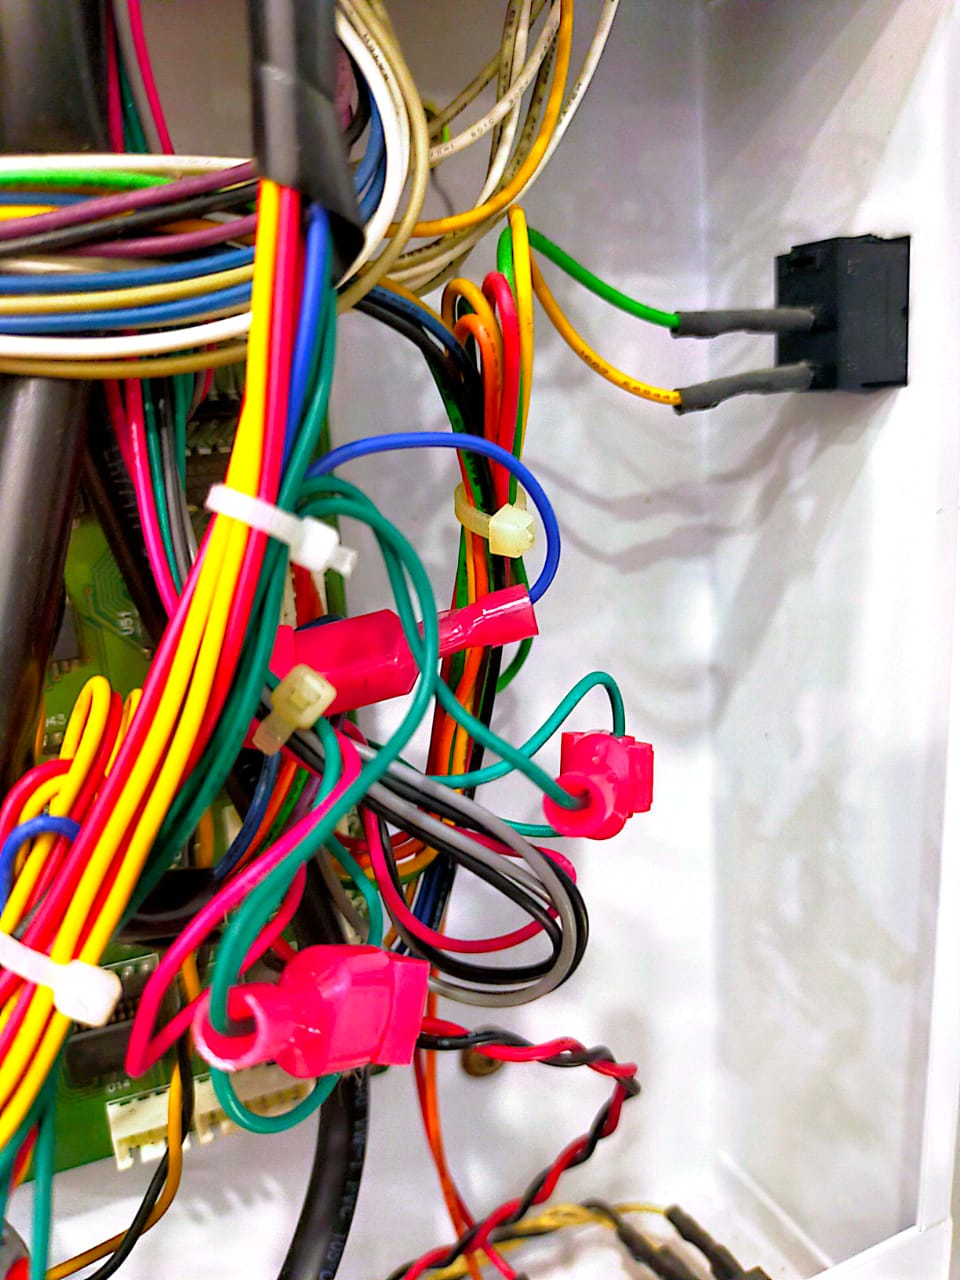
7) Attach 2 G-splice connectors on the yellow and black wire of the power cable for 12V and GND respectively. Connect these wires to the power input of the Alpha-3.
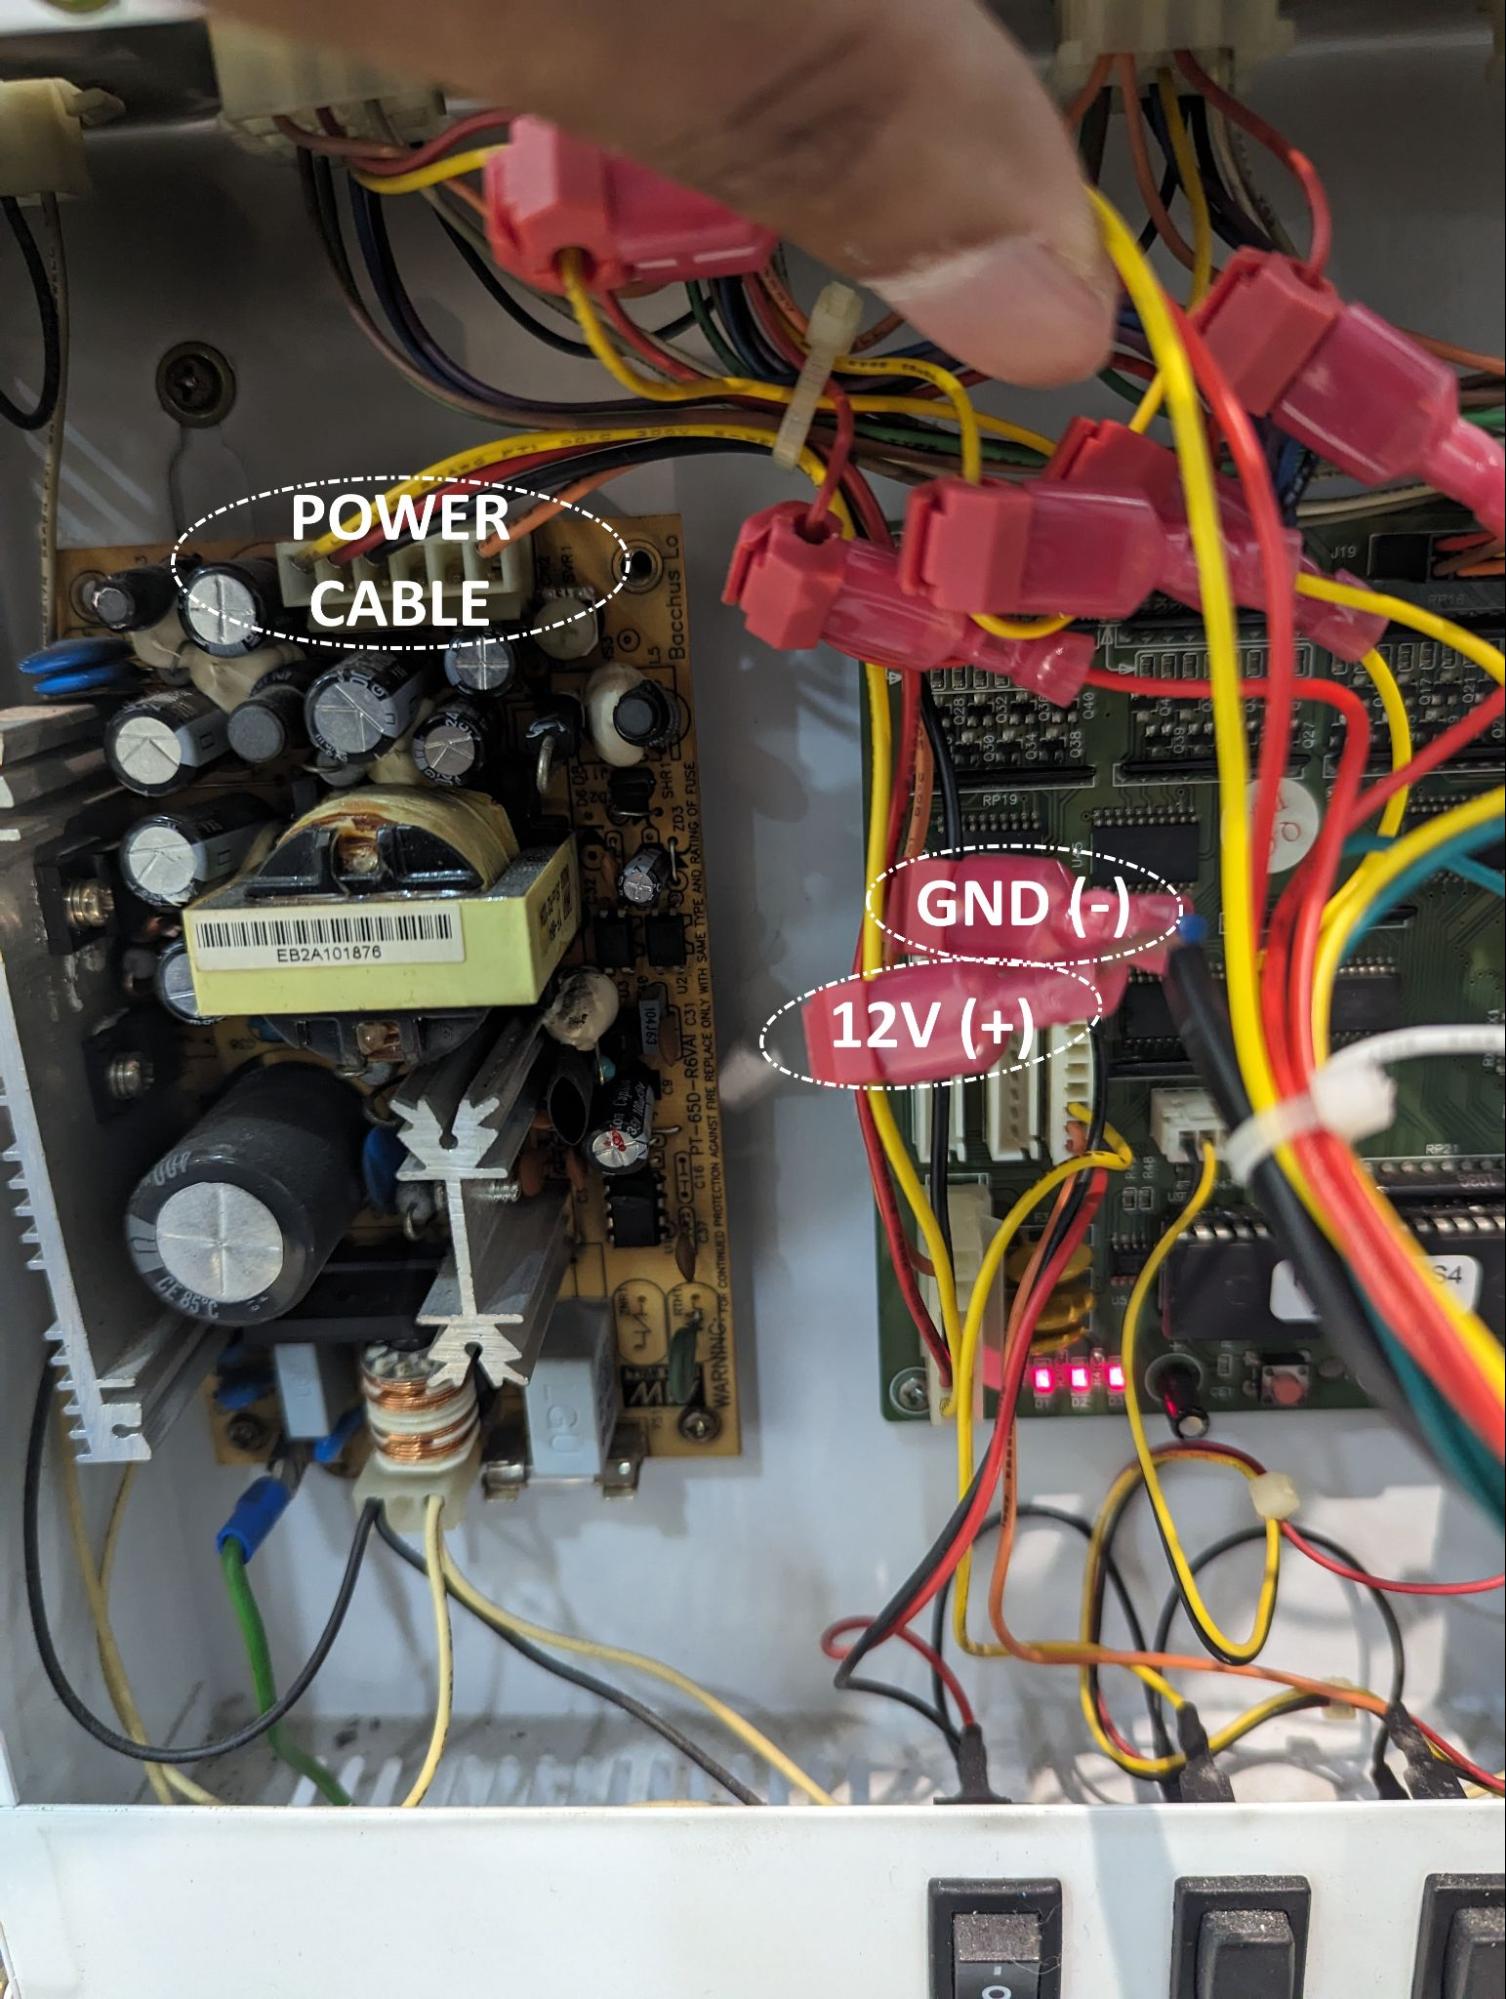 Example: Device connection from board
8) Cable ties the wires neatly, and attach the Alpha-3 device above the controller box.
⚠️ Attention: If any of the tests are not detected, check the connections and ensure they are tapped properly. For best results, connect the related connections together for better conductivity.
No comments to display
No comments to display