
PeGePay Setup Guide
Login
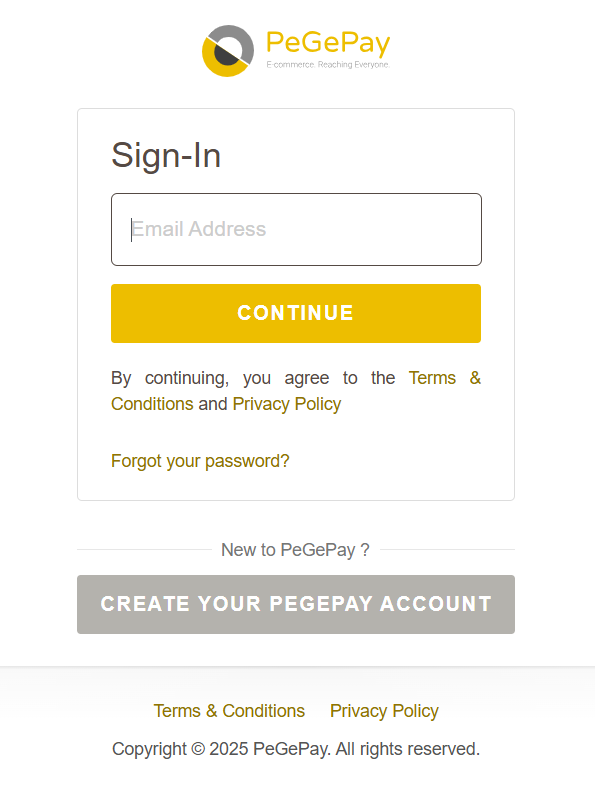
- Open URL PeGePay: https://pegepay.com/ Click LOGIN Button

- Enter email address and click CONTINUE button

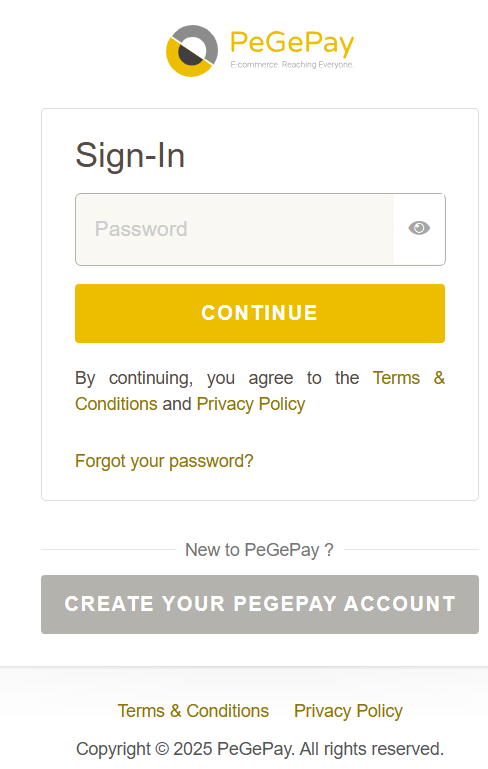
- Enter password and click CONTINUE button

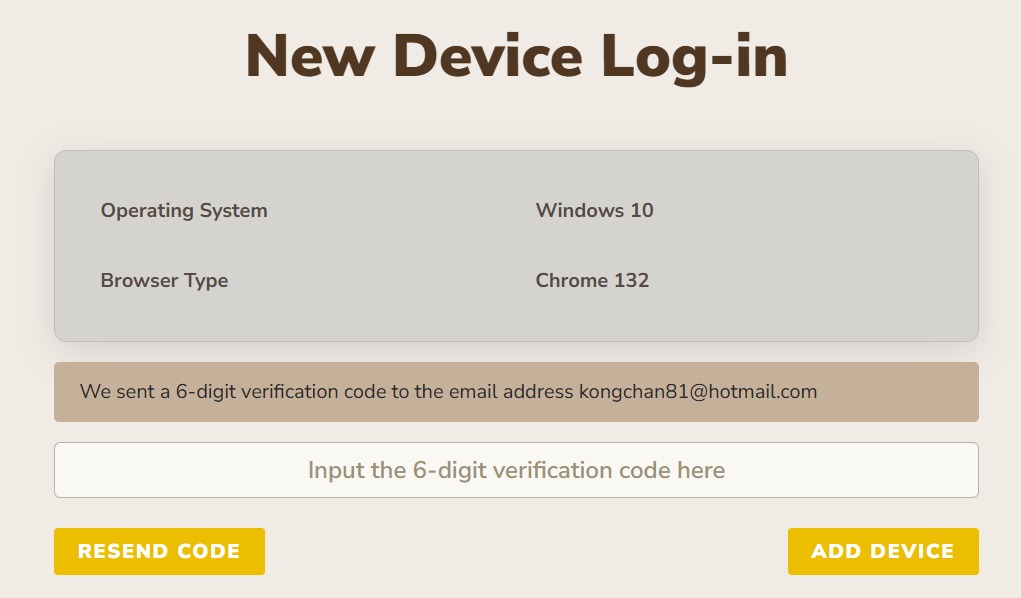
- Enter verification code and click ADD DEVICE button, if verification code expired, click RESEND CODE button

New Account Setup
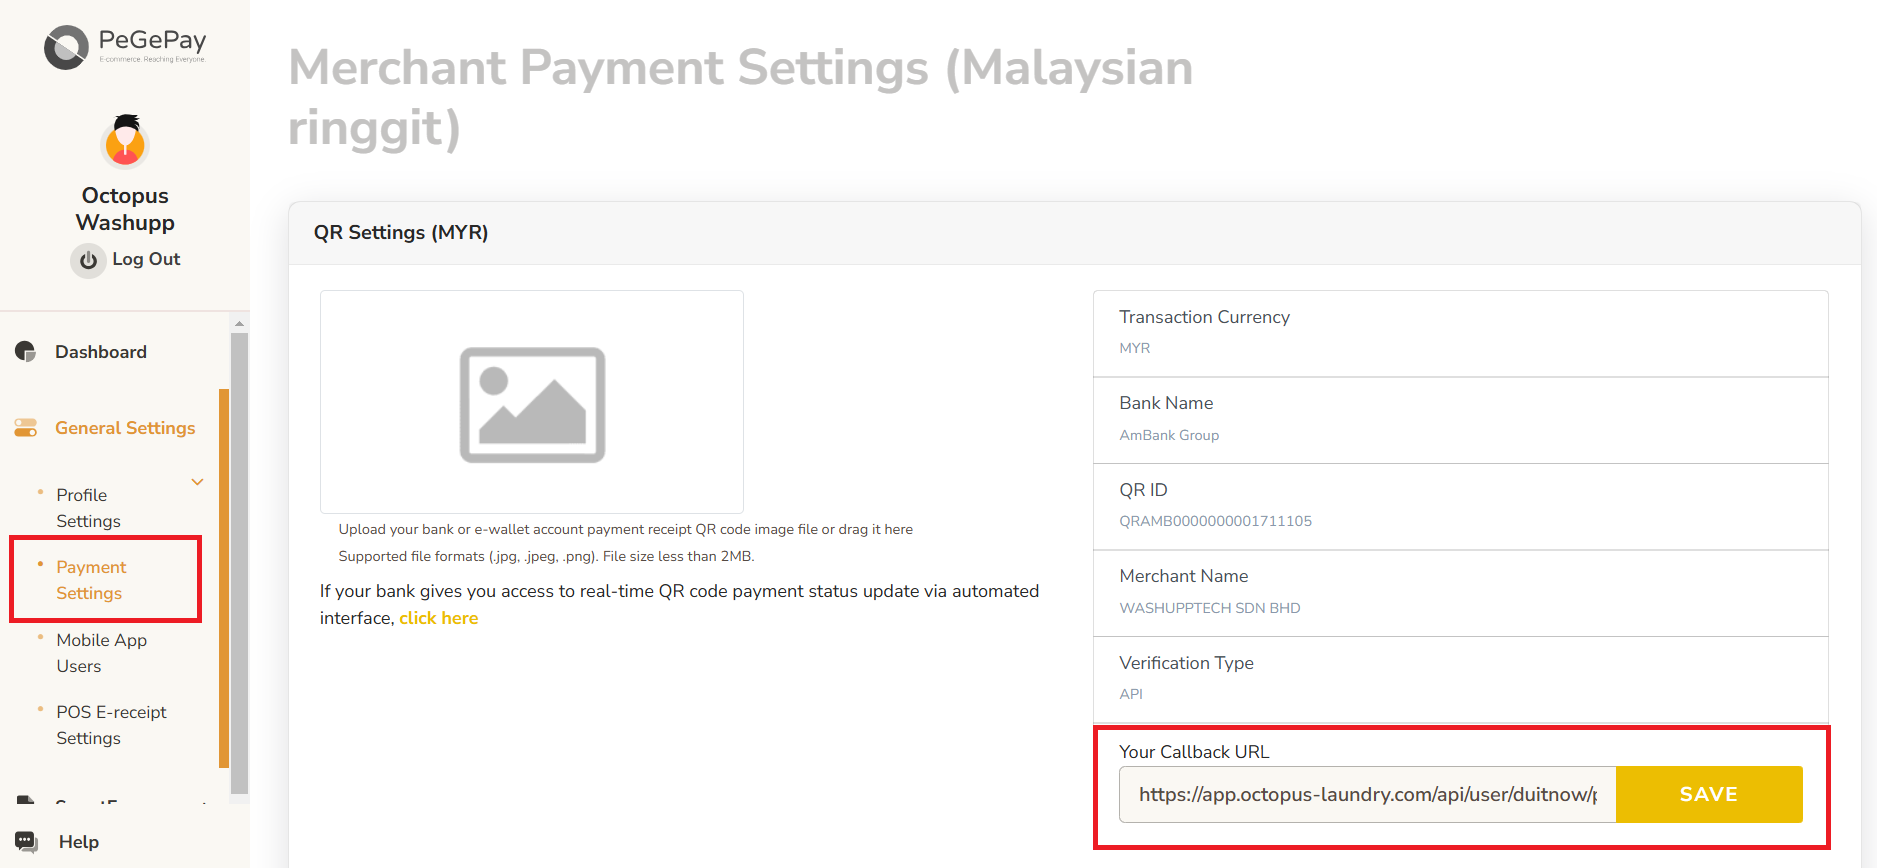
- If it is a new account, have to set callback URL. From sidebar, click General Settings, click Payment Settings, enter callback URL and click SAVE button.
Callback URL:https://payment-engine.antlysis.com/api/payment/duitnow/success
Generate QR Code
Dynamic QR Code
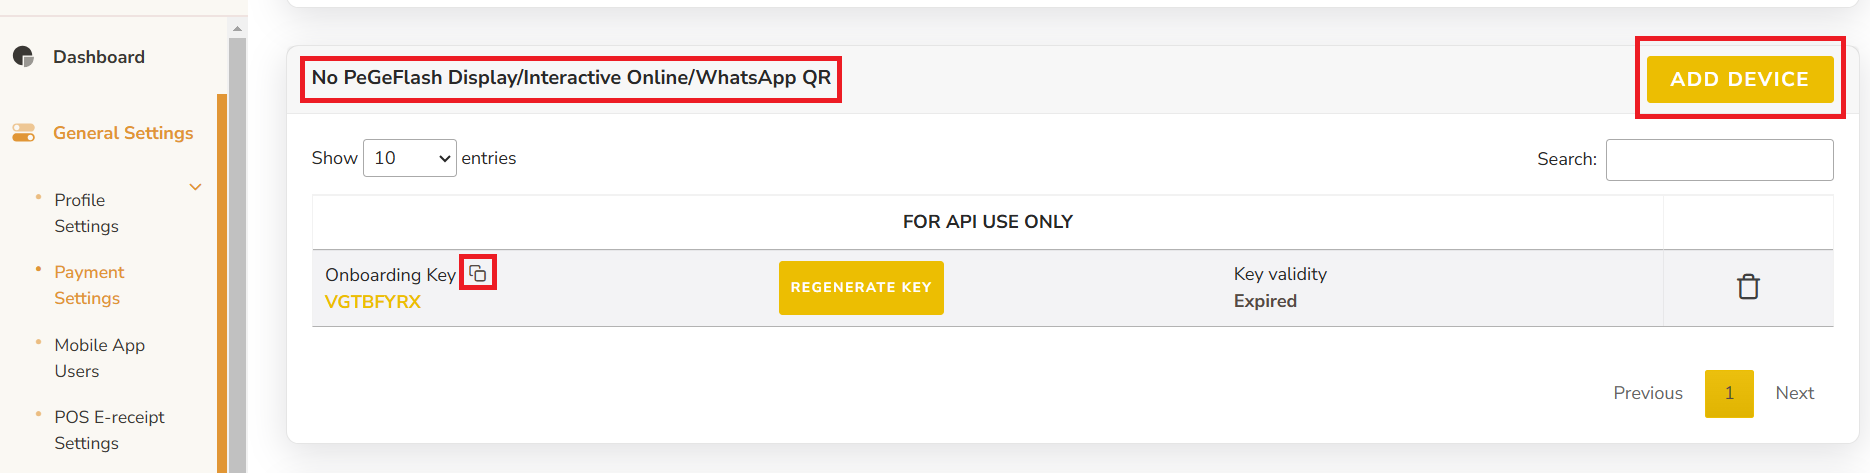
NOTE: if already setup dynamic QR code, when click REGENERATE KEY, all the old key will be expired and need to update to the latest key - From Sidebar, click General Settings, click Payment Settings, under No PeGeFlash Display/Interactive Online/WhatsApp QR, click ADD DEVICE button, then copy the Onboarding Key and paste into Laundro Portal
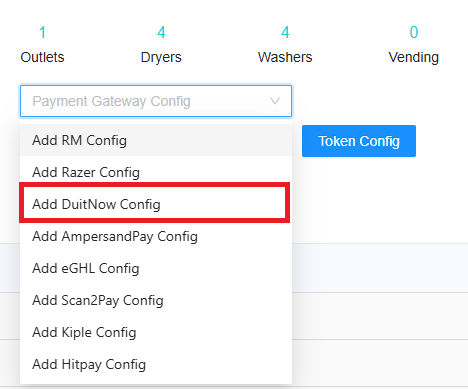
- In Laundro Portal, go to Settings Page, under Payment Gateway Config, select Add DuitNow Config
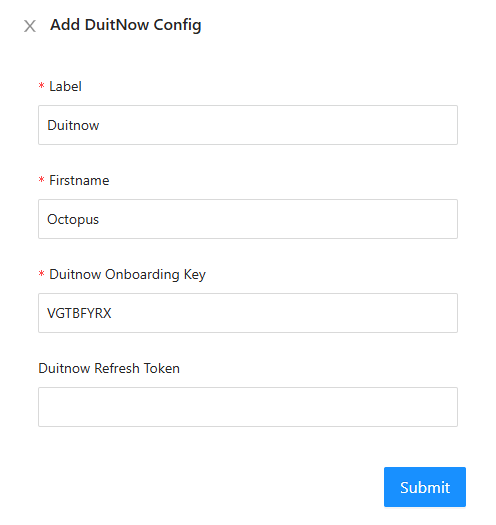
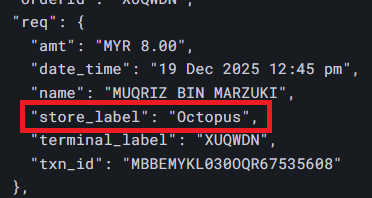
- Input Label, firstname and paste the Onboarding Key from PeGePay into Duitnow Onboarding Key input, then click Submit button. The Firstname have to same with the store_label in static Duitnow callback URL. If you want to use back the old Duitnow Refresh Token, you can just copy and paste in Duitnow Refresh Token input.

- To enable DuitNow in machine payment page in loyalty, in outlet settings page, under Duitnow Config, select the config and save

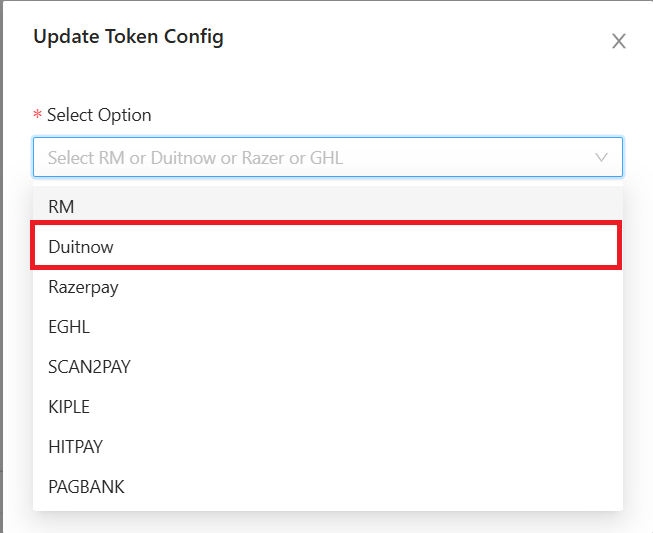
- To enable Duitnow for eToken reload in loyalty, click Token Config button
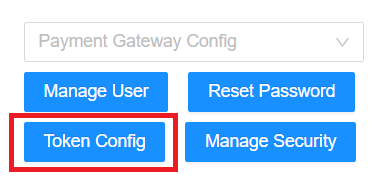
- Payment Gateway select Duitnow, and select the duitnow Config, then Submit button

Static QR Code
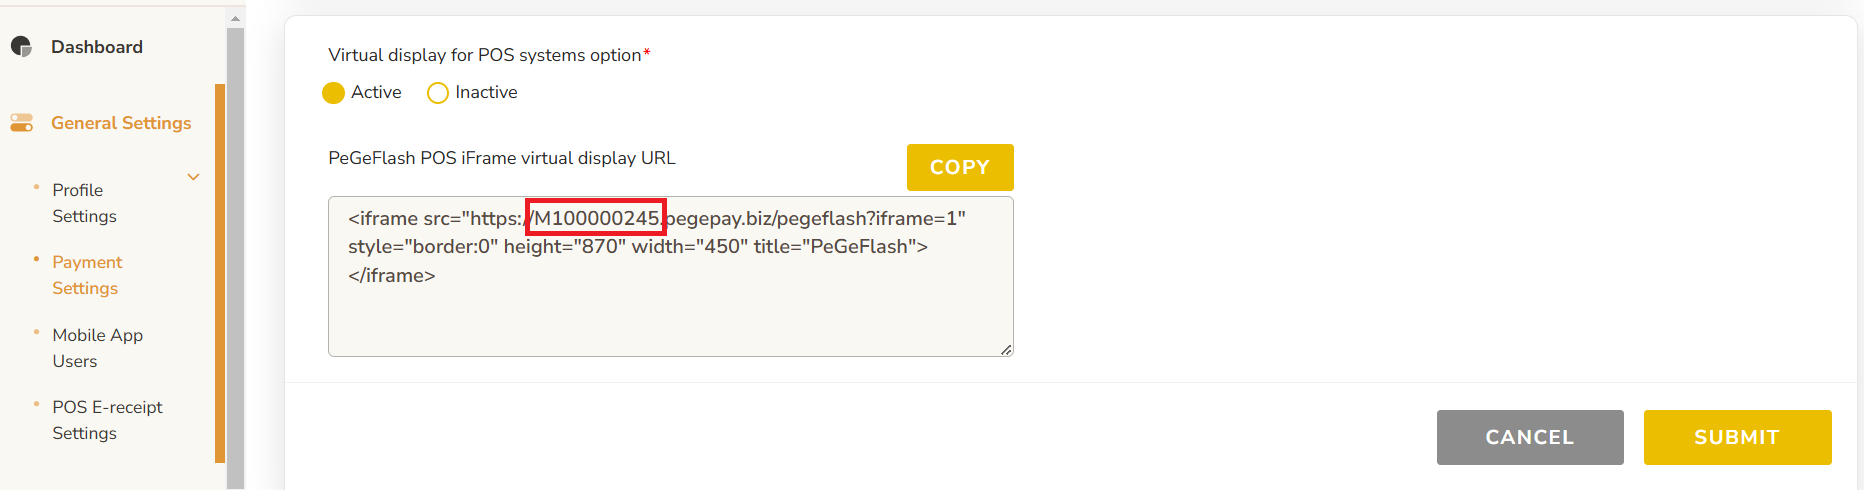
- You can get the static QR code from https://pegepay.com/iframe.php?merchant_id=<merchantID>, replace <merchantID> with PeGePay merchant ID
- To get the PeGePay Merchant ID, you can get from Payment Settings Page, for example, M100000245 is the merchant ID and you can open the url: https://pegepay.com/iframe.php?merchant_id=M100000245

- From Payment Settings page, under Static QR Buddy, Click ADD DEVICE button
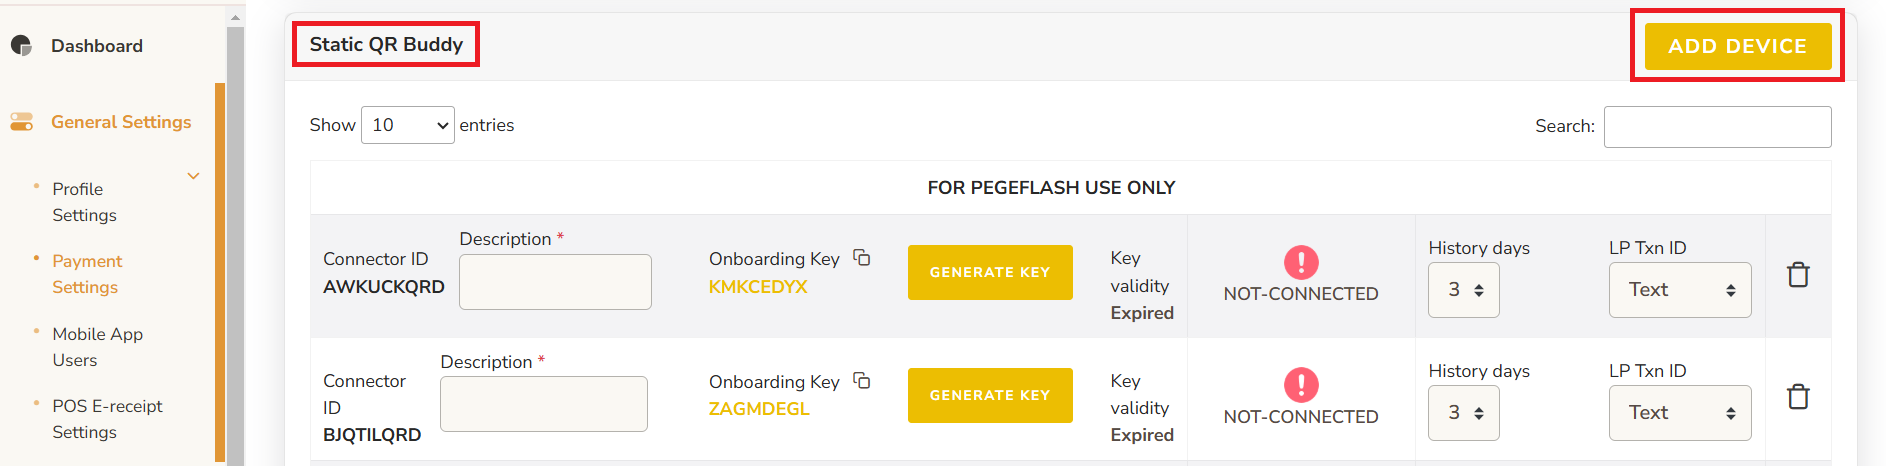
- Enter the description and click GENERATE KEY button
* The new connector ID will be empty Onboarding key and key validity, if already have onboarding key and key validity that is old connector ID

- Copy the Onboarding Key, the key expired time is showing on Key validity

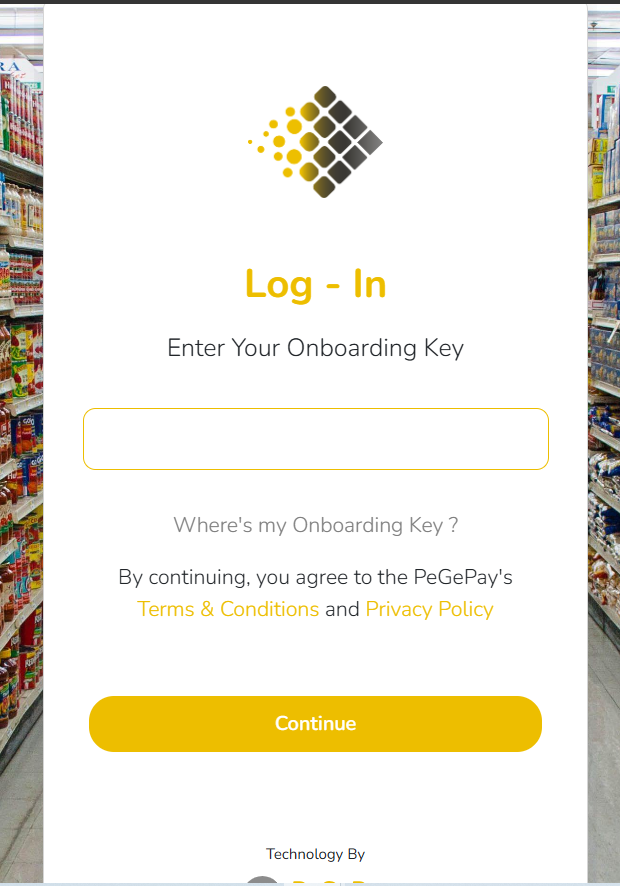
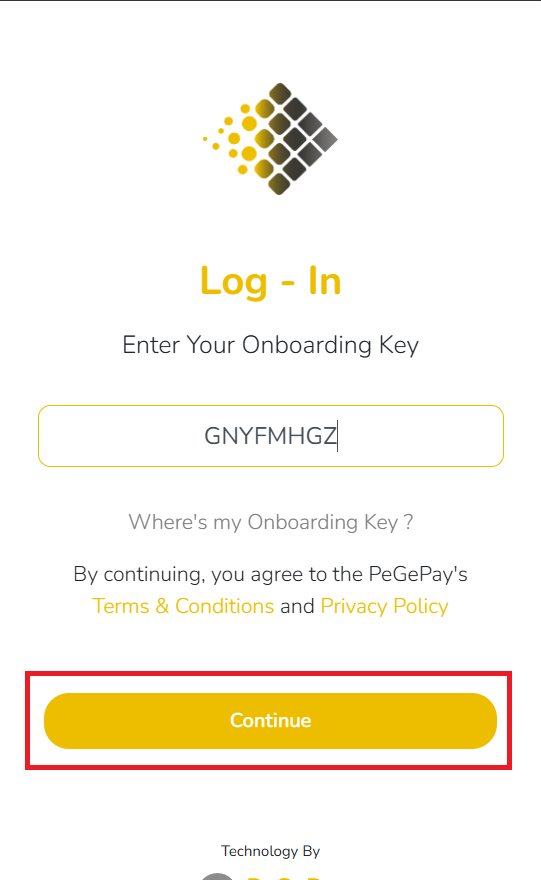
- Paste the Onboarding Key to static QR code page and click Continue button
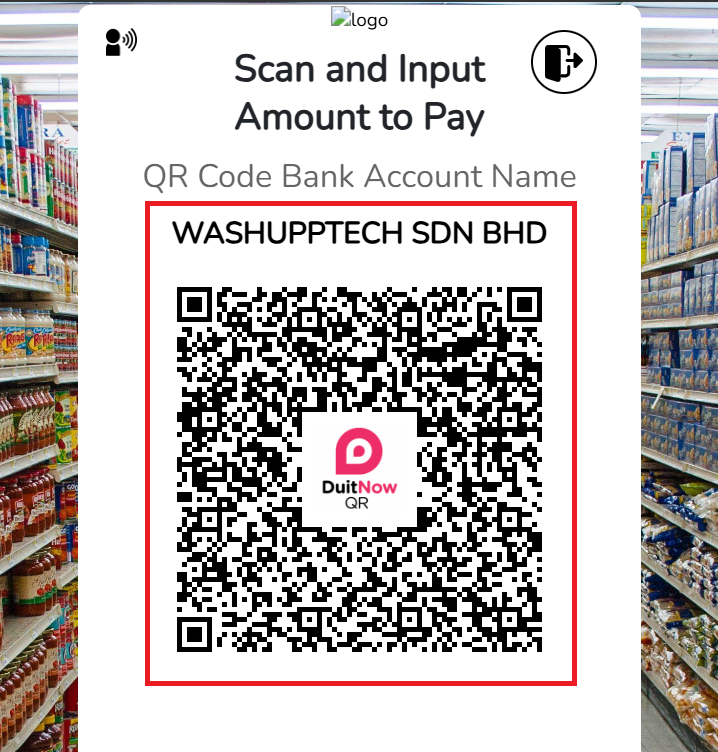
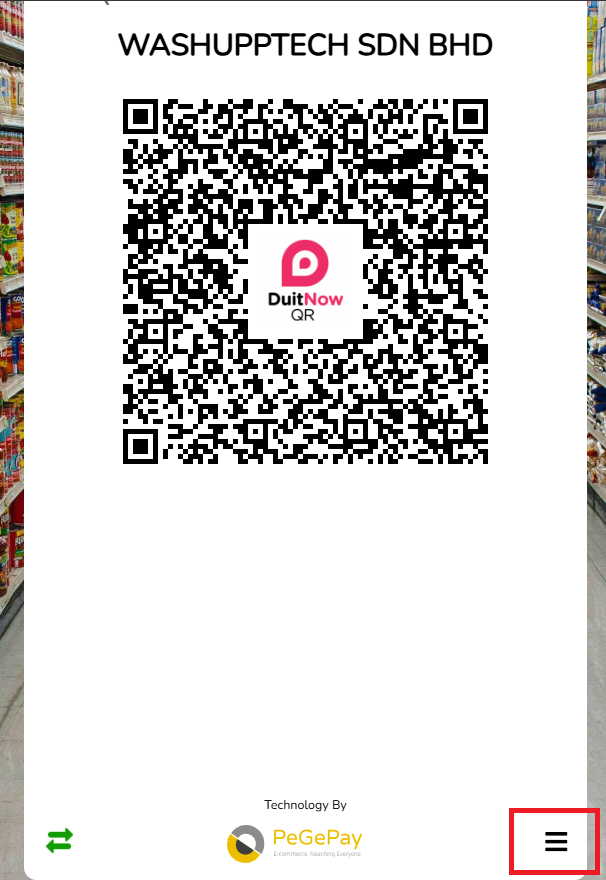
- The Static QR Code is showing, you can screenshot the QR code with the company name

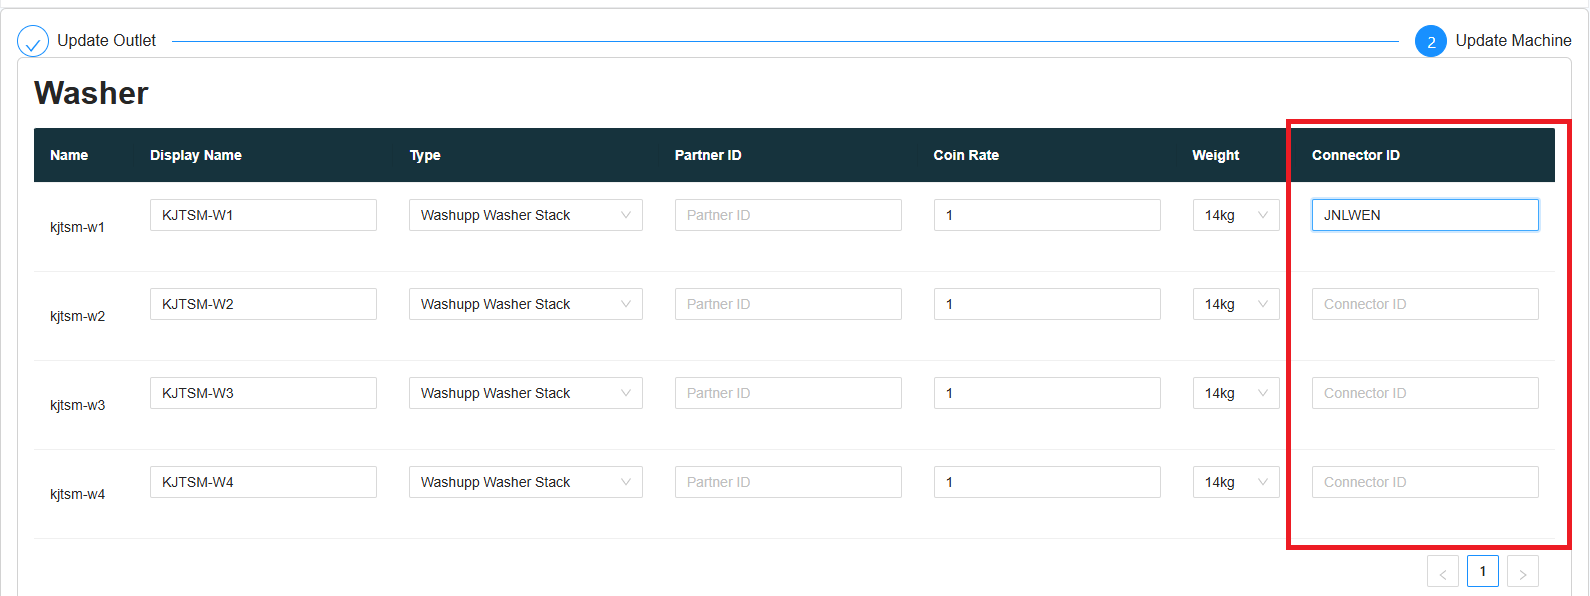
- When the static QR code is showing, it will show CONNECTED, copy the first 6 character of Connector ID and paste into Laundro Portal, no need to copy the last three character (QRD), QRD is stand for QR Display

- In Laundro Portal, in machine settings page, paste the Connector ID into the input and click save

- To generate the second machine static QR code, you can click the icon at the bottom of the page

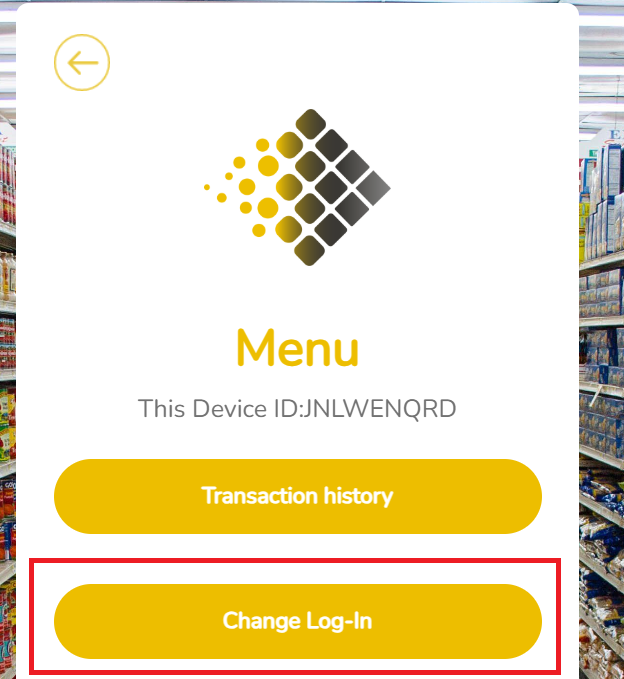
- Click the Change Log-In button to logout

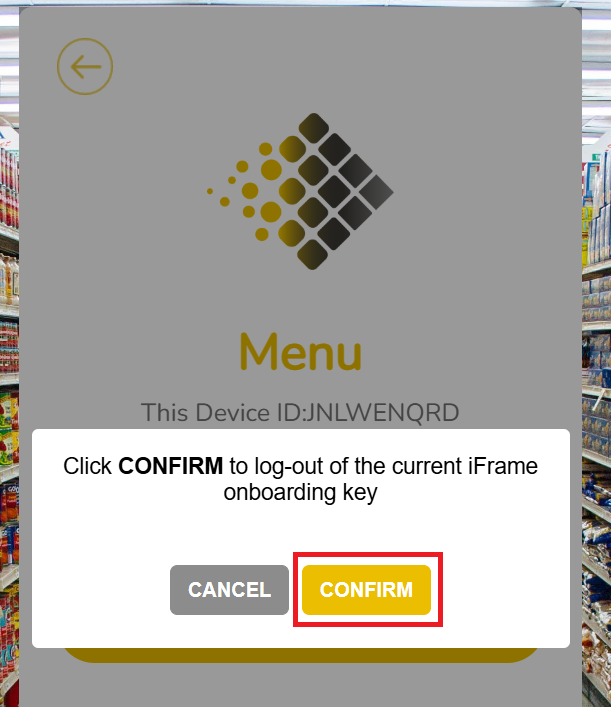
- Click CONFIRM button to confirm logout

- You can repeat the step to generate the static QR code for all the machine


Transaction Checking
Static QR Transaction
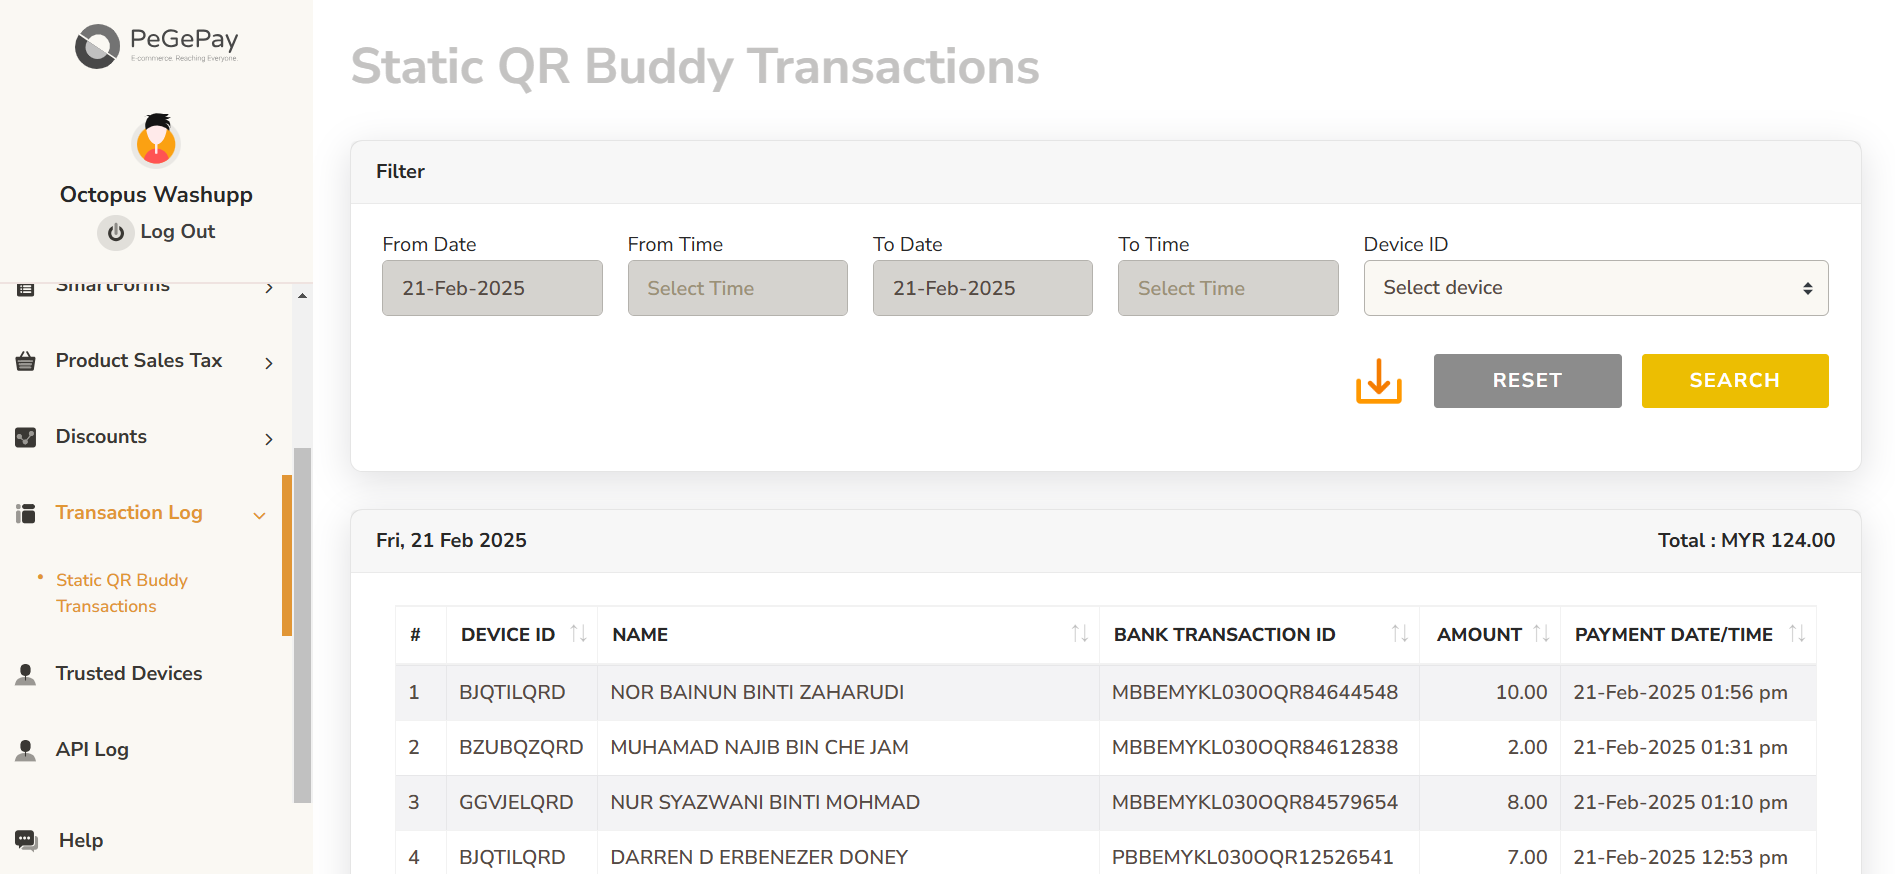
To check the static QR code transaction status, from sidebar, click Transaction Log, click Static QR Buddy Transactions
Dynamic QR Transaction
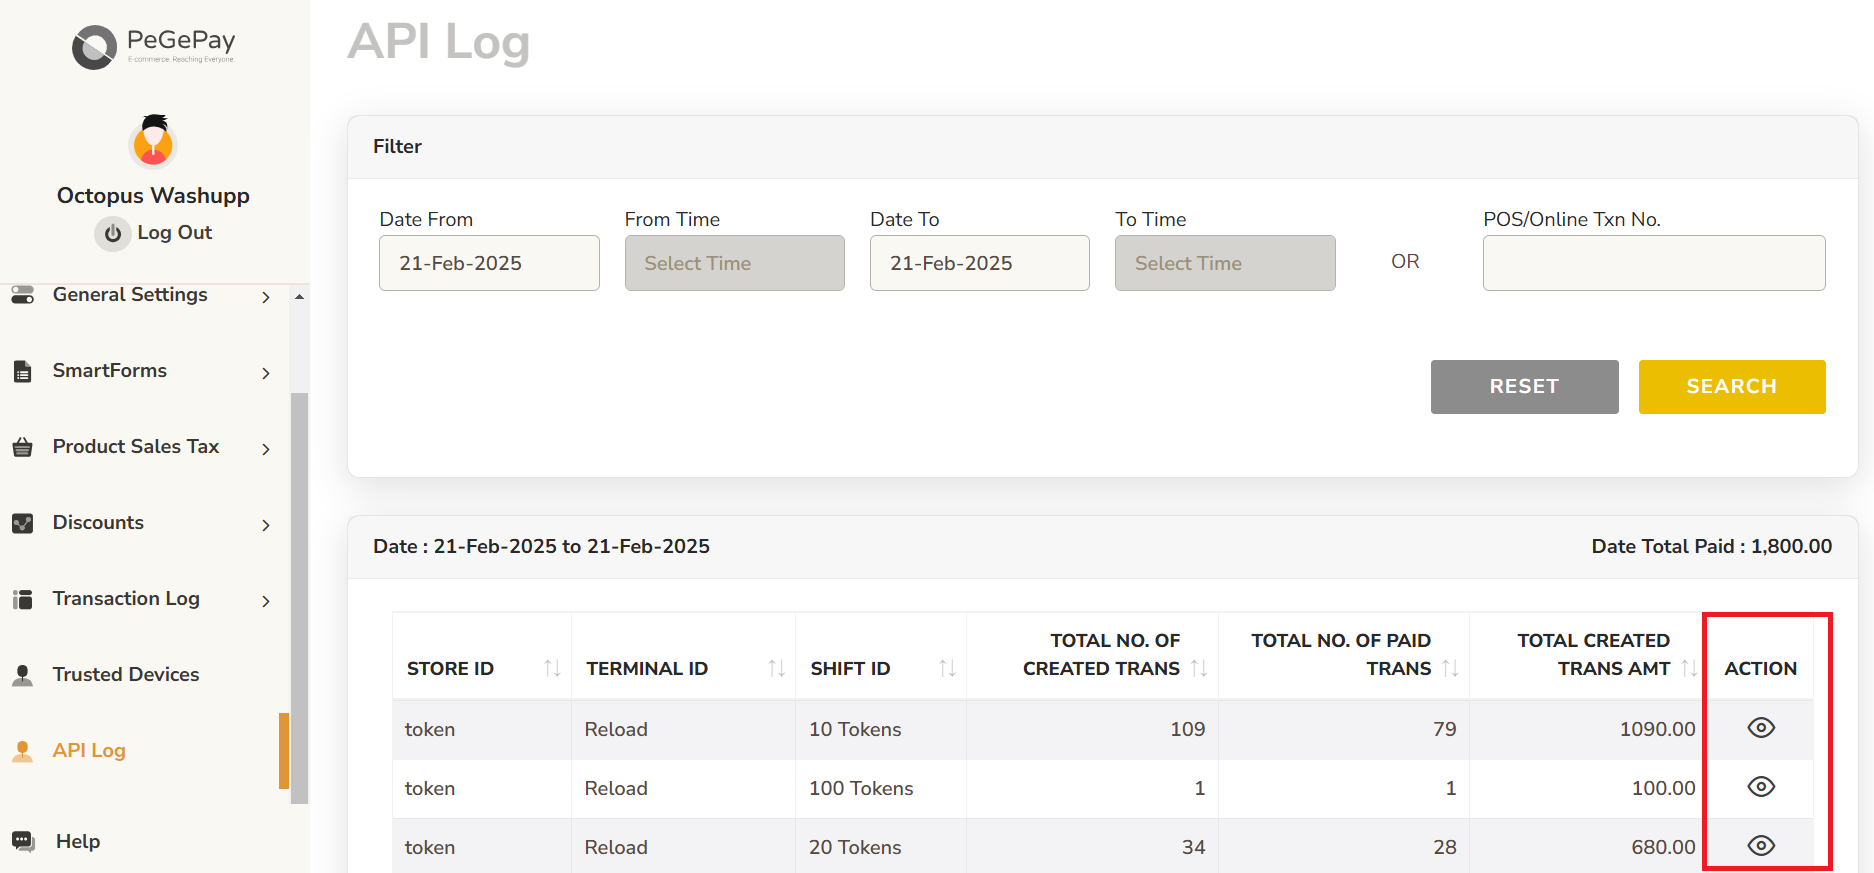
To check the dynamic QR code transaction, from sidebar, click API Log, you can click the icon to check for each transaction
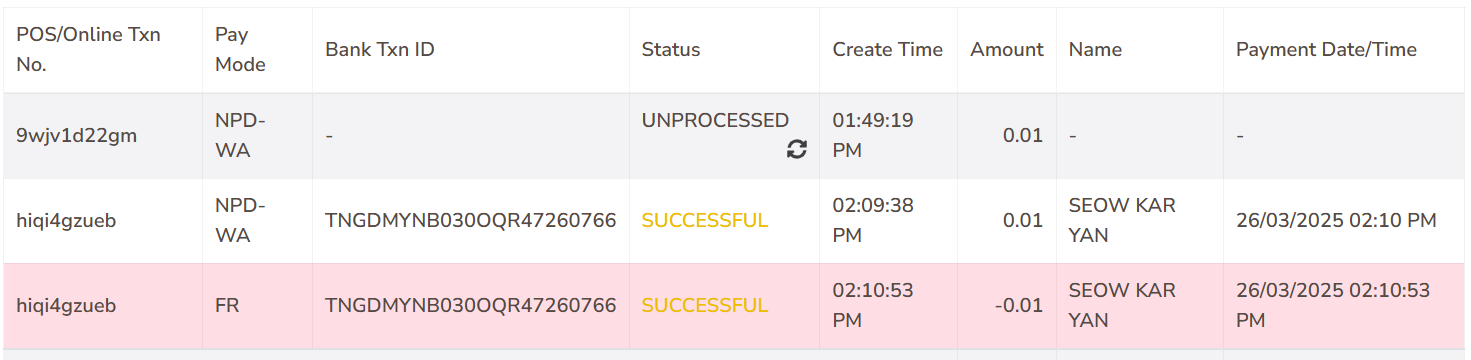
There will be 3 status
UNPROCESSED: the QR code is generated but the user didn't make the payment
SUCCESSFUL (yellow): payment the successful
SUCCESSFUL (red): payment duplicated, the user using the same QR code to pay 2 times

If the Pay Mode is FR and the Amount is negative, this transaction is refunded
No comments to display
No comments to display