
Installing additional Access Point (AP)
Installing additional Access Point (AP)
When an outlet has a large number of devices, adding an additional stand-alone access point (AP) can help reduce the load on the router and improve connectivity. This guide explains the process of adding an additional AP and how how to migrate the WIFI settings from the original router to the new AP.
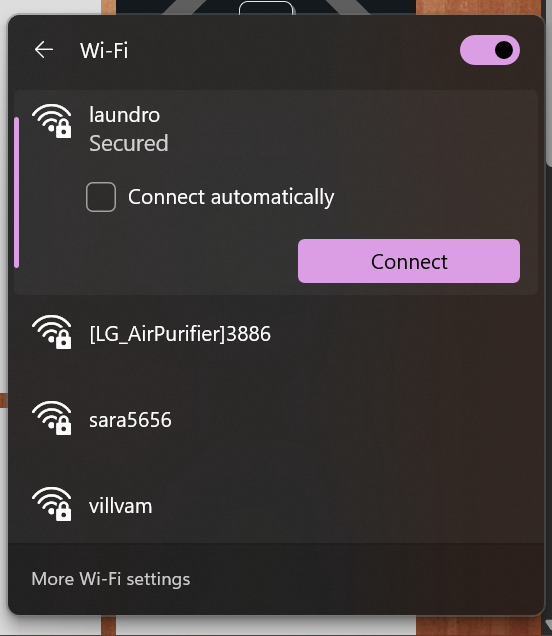
1. Connect to the Existing Wi-Fi Network
Connect to your existing Wi-Fi network (e.g., laundro) using a mobile device such as a laptop or smartphone.
2. Access the Router's Web Interface
Open a web browser (e.g., Chrome) and enter the IP address of the router. Common router IP addresses include:
-
192.168.0.1 -
192.168.1.1 -
192.168.100.1

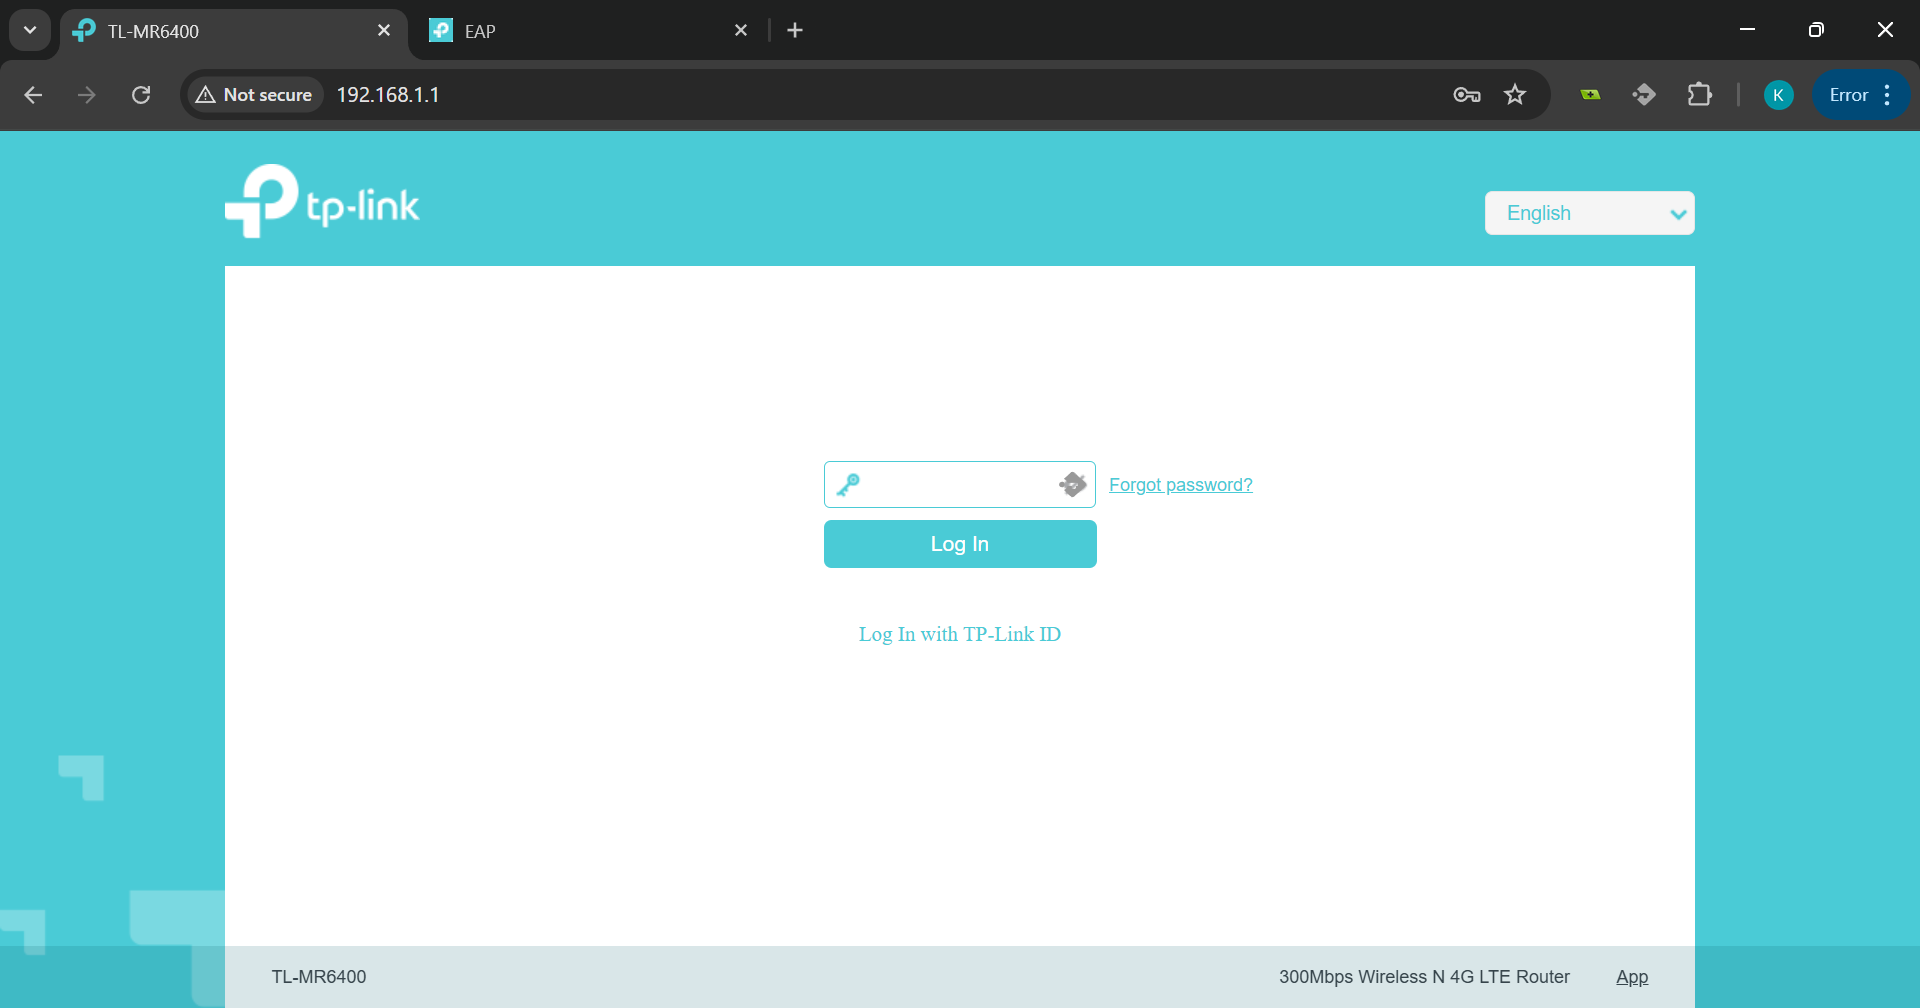
3. Log In to the Router
Enter the router's login credentials. These may have been set previously or can often be found on a label at the bottom of the router. This will take you to the router's home page.
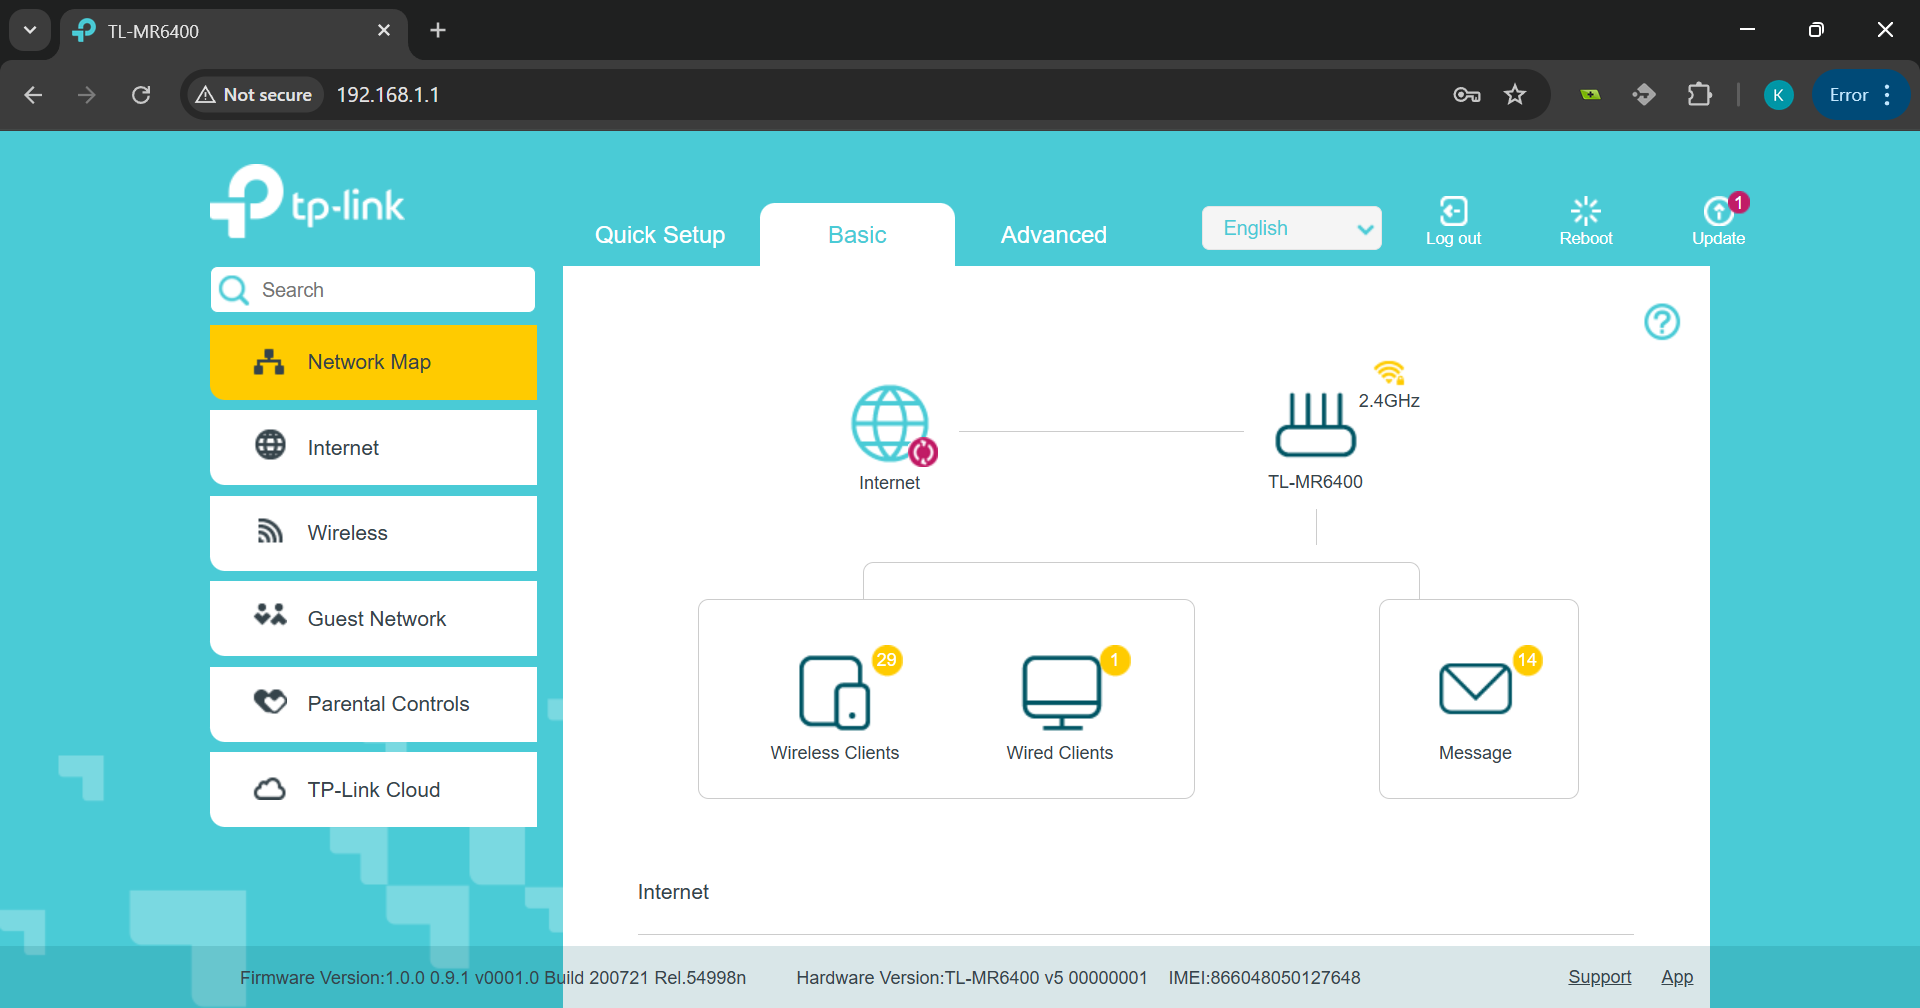
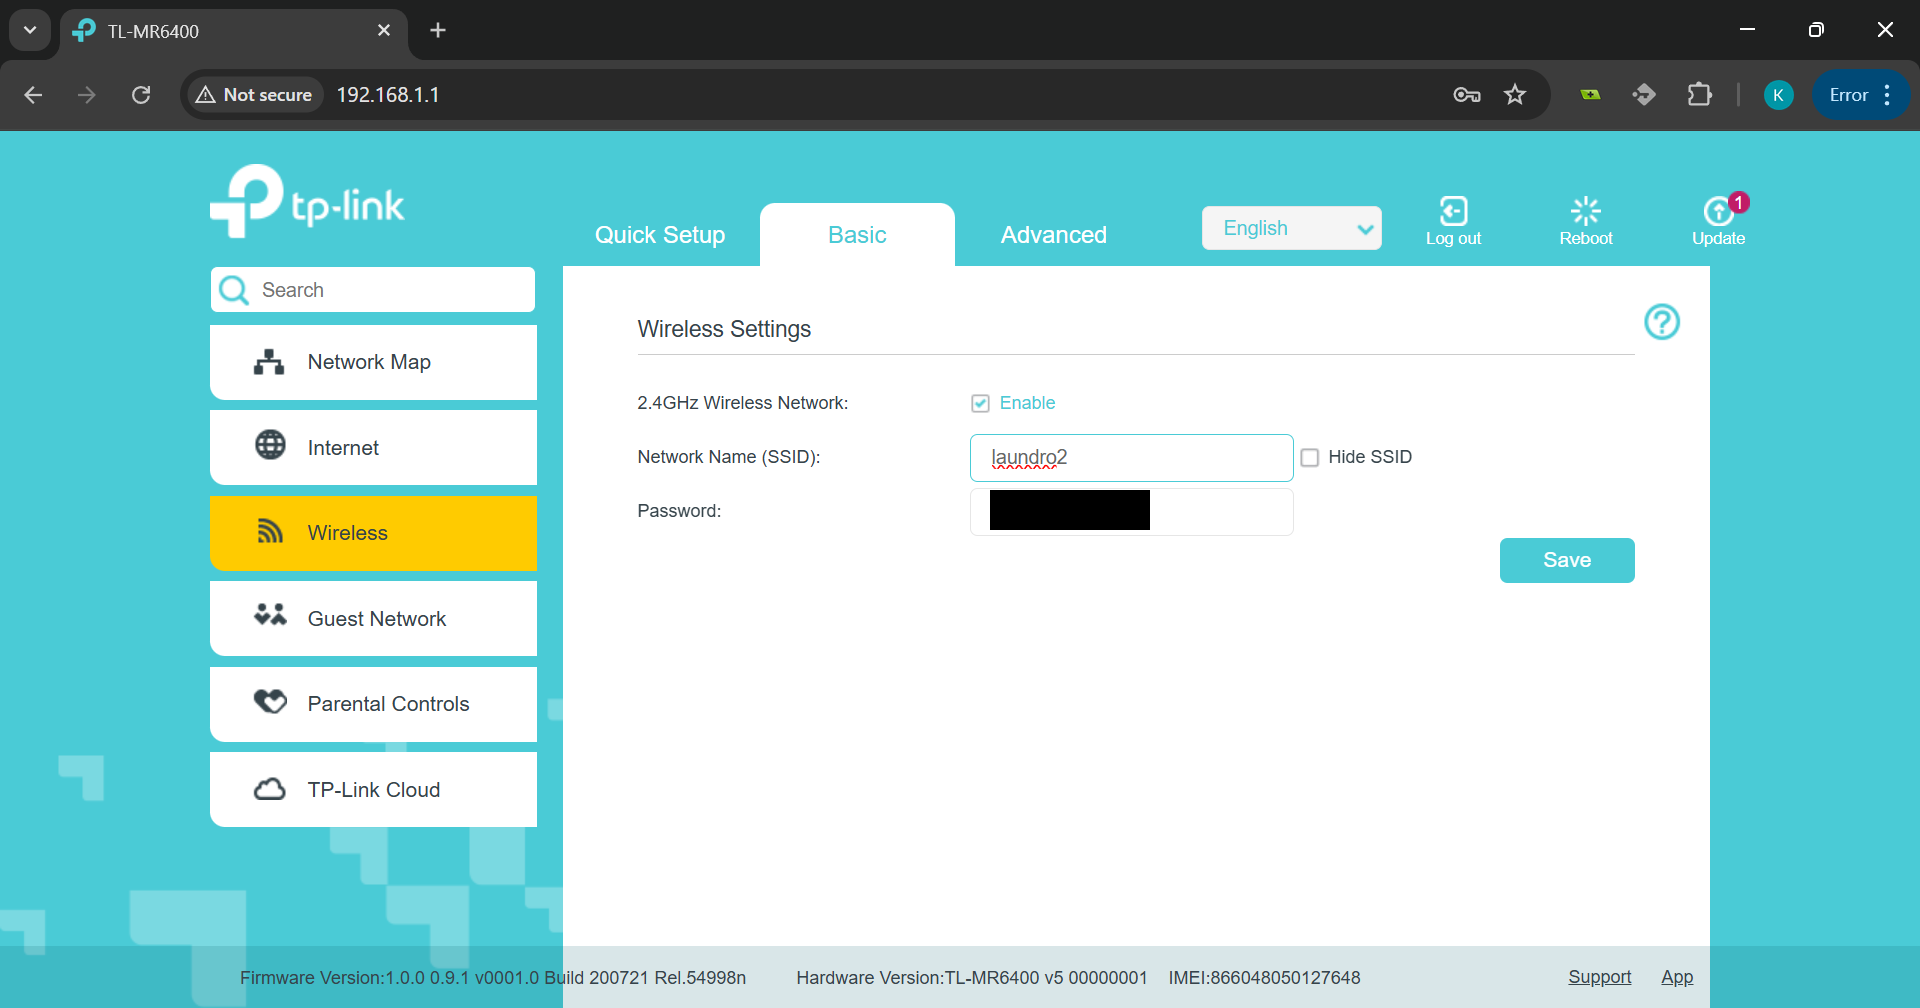
4. Identify the Access Point (AP)
Click on the Wired Clients icon. You should see a device listed—this is the access point (AP). Take note of its IP address (e.g., 192.168.1.120).
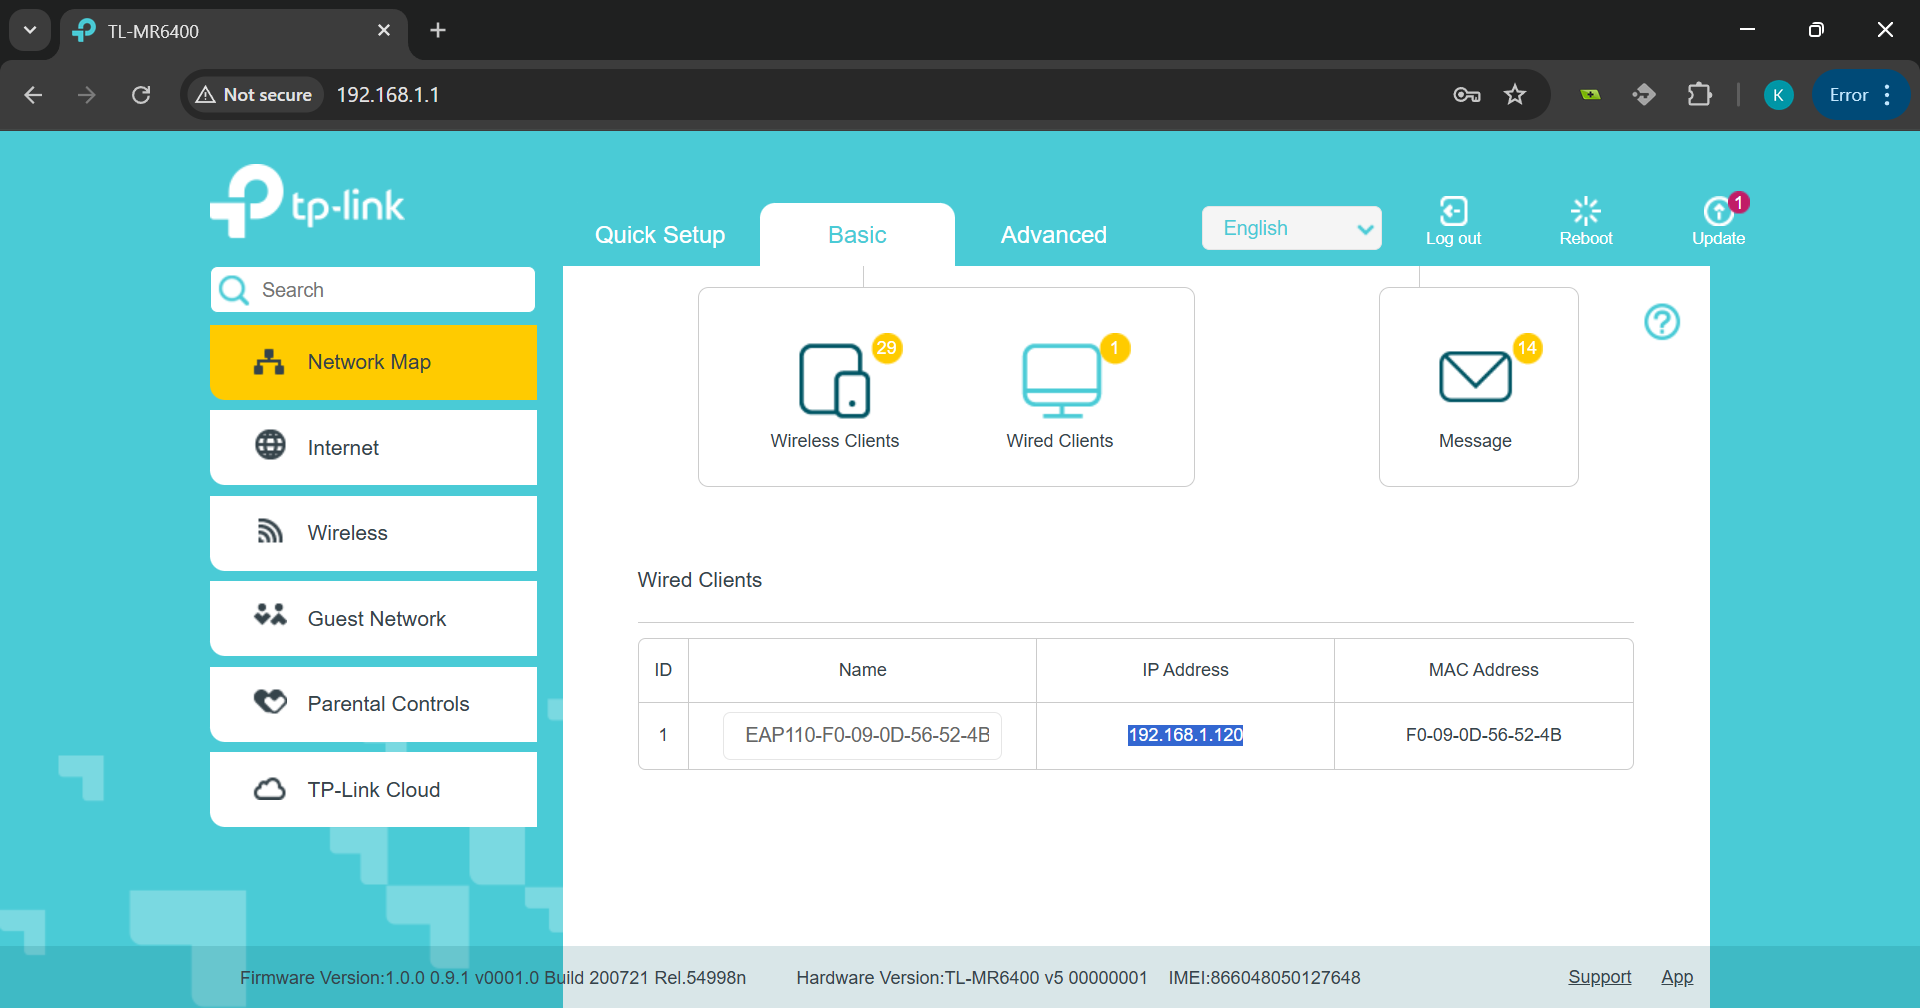
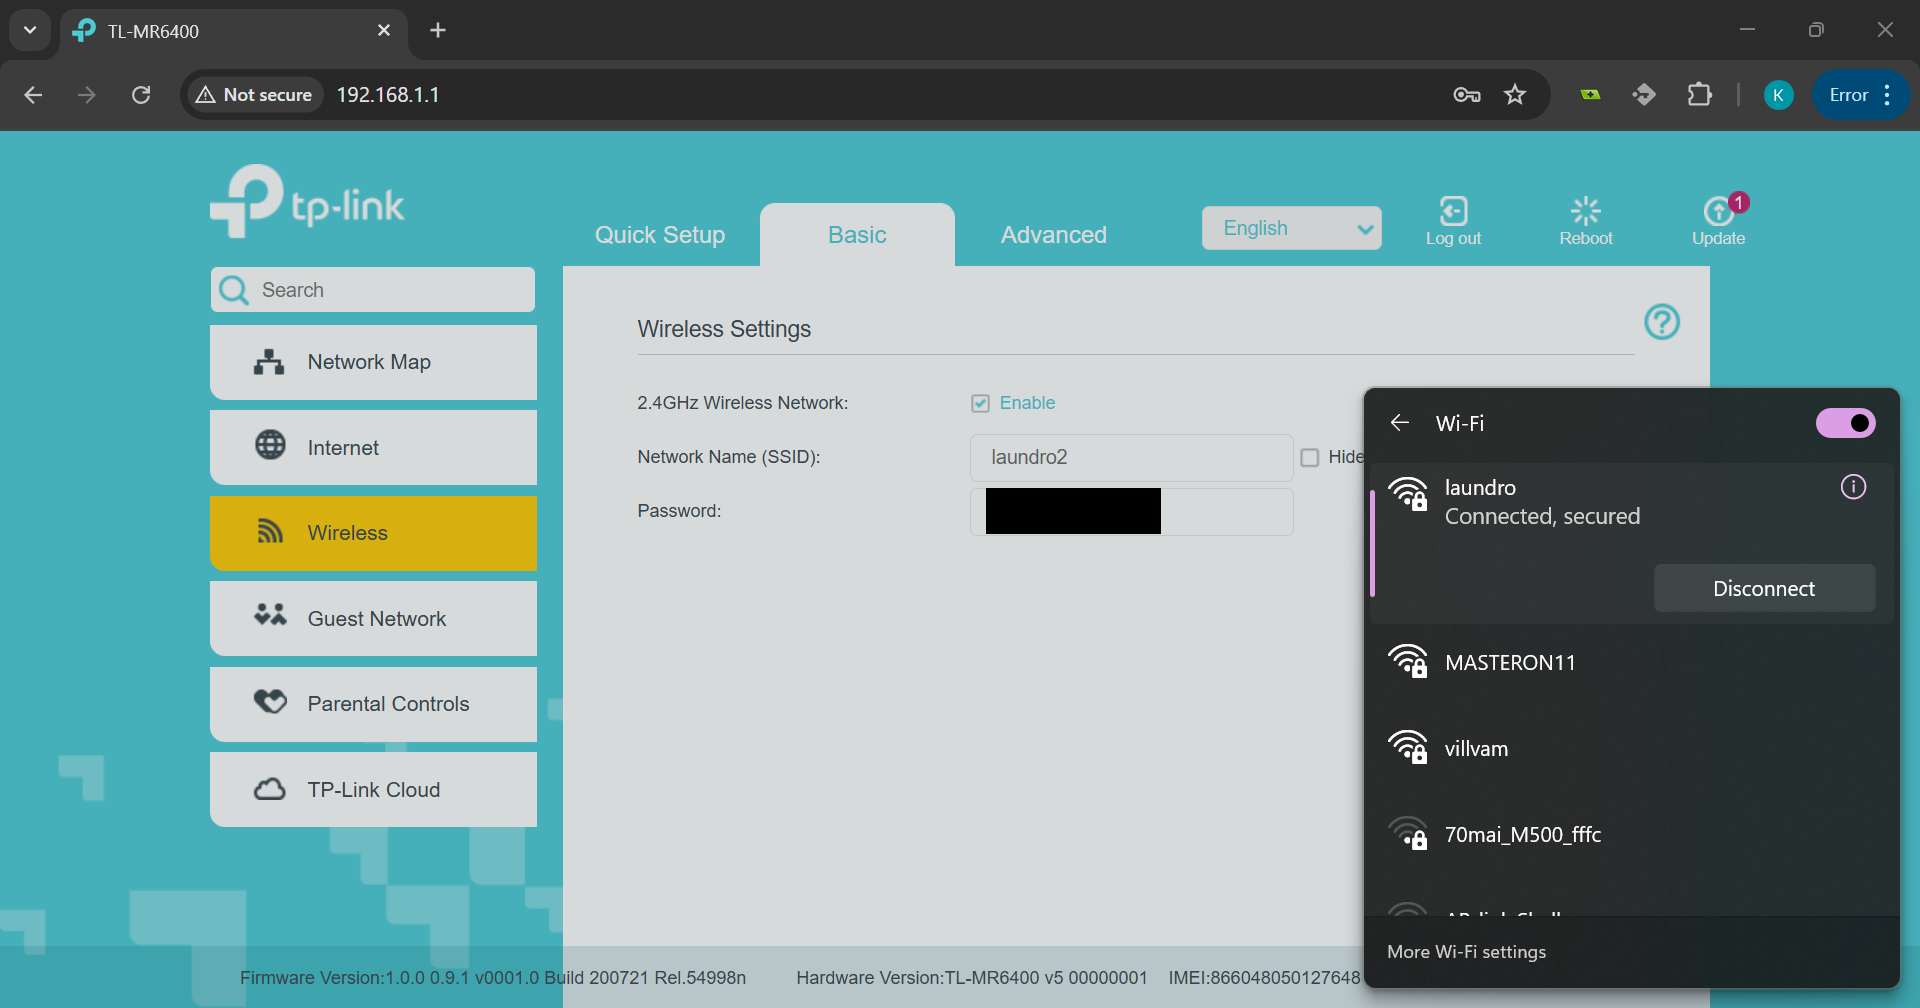
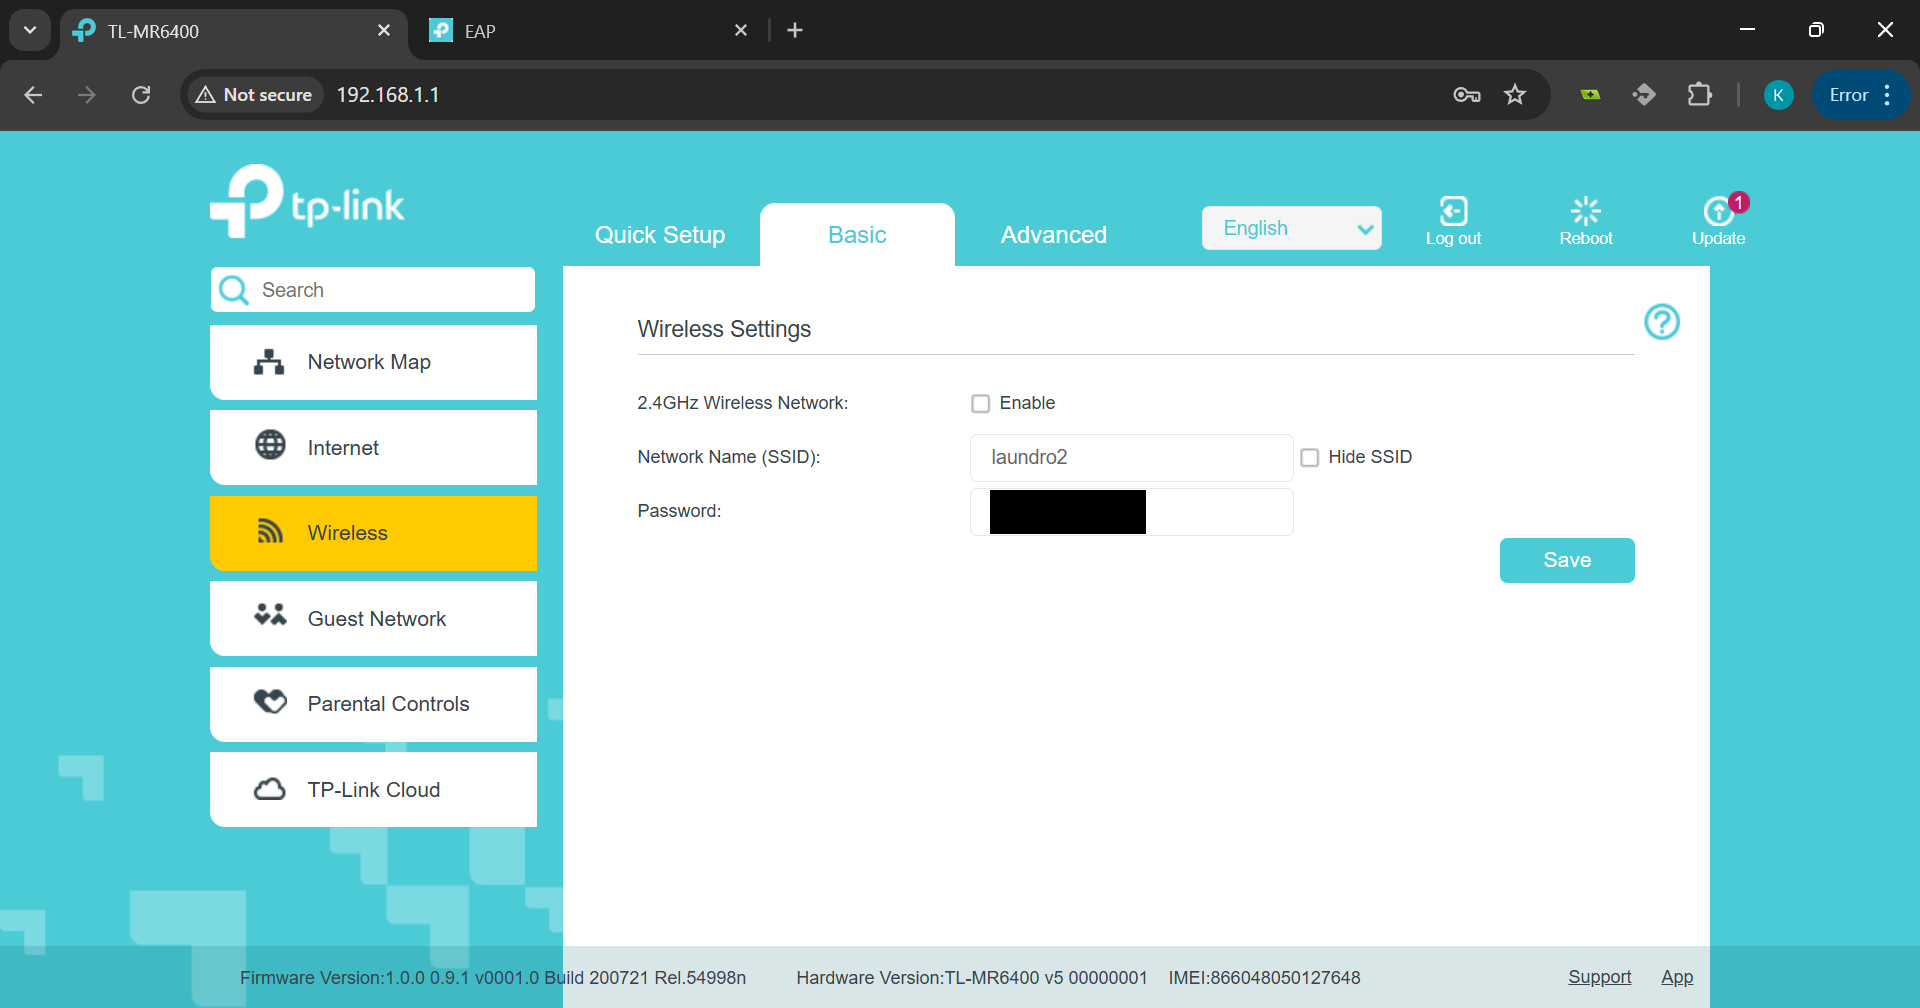
5. Rename the Router’s SSID
Click on the Wireless tab in the left navigation menu. Change the name of the current SSID (Wi-Fi network name) to something different, then click Save.
6. Disconnect from the Router
Changing the SSID will disconnect you from the Wi-Fi network. If the device does not disconnect automatically, you can manually do so.
7. Connect to the Access Point
Now connect to the AP's default Wi-Fi network. This is usually named after the AP model.

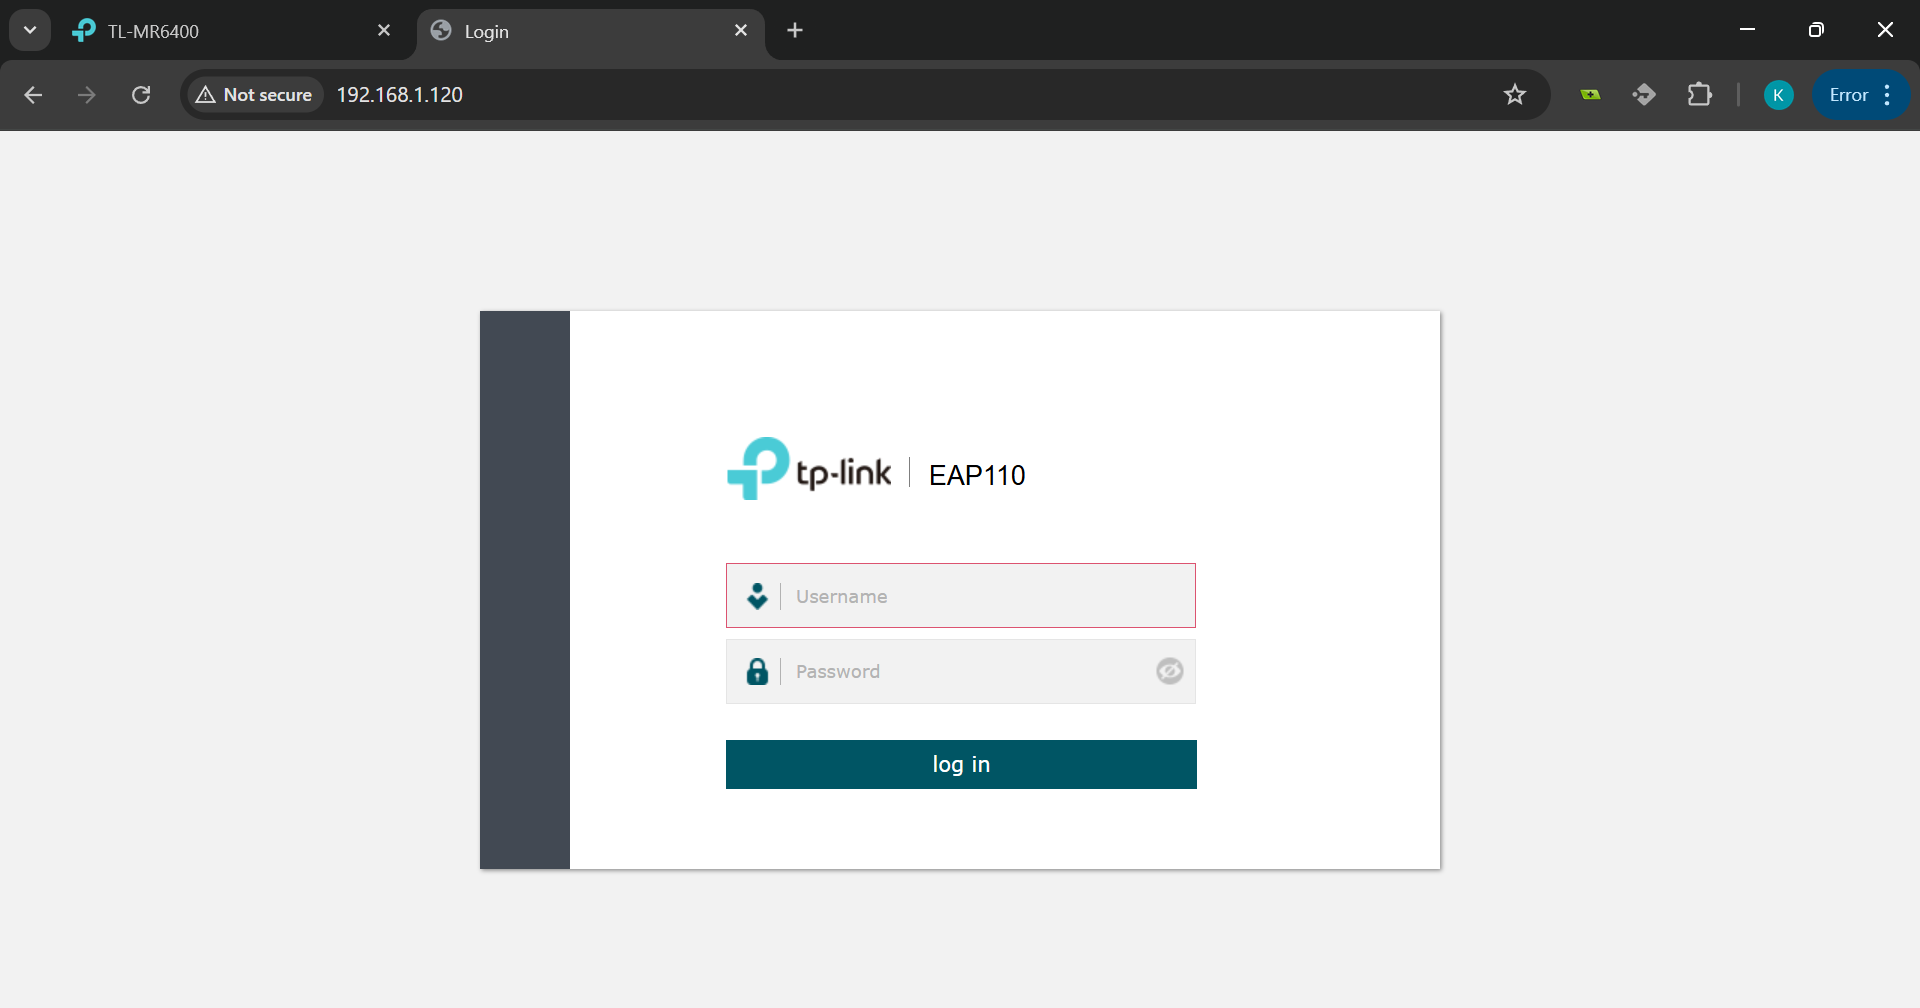
8. Log In to the Access Point
Open a new tab in your browser and enter the IP address you noted earlier. This will bring you to the AP’s login page. Log in using the default credentials provided by the manufacturer (e.g.,
Username: admin
Password: admin).
9. Change Default Credentials
You will be prompted to change the default username and password. Choose secure credentials and make sure to remember them. Click Next to proceed.

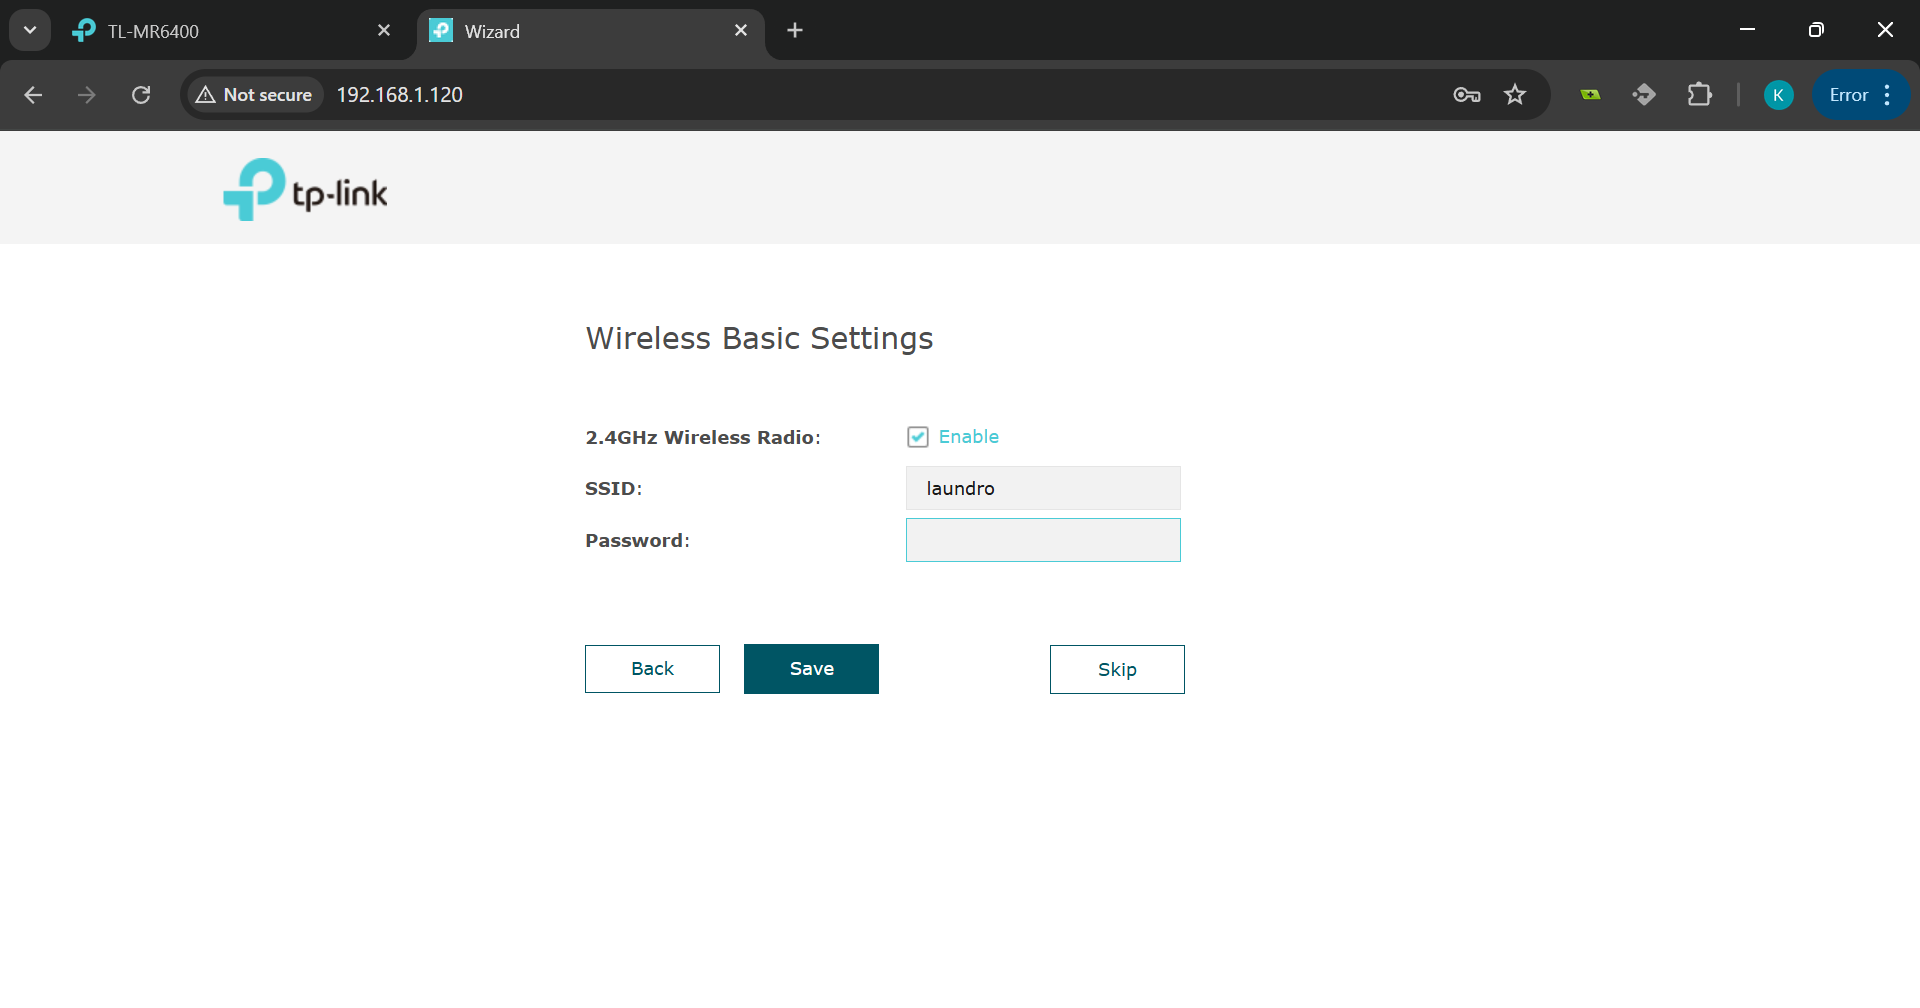
10. Configure Wi-Fi Settings on the AP
Set the SSID and password to match the original network name and credentials (e.g., laundro). Click Save.
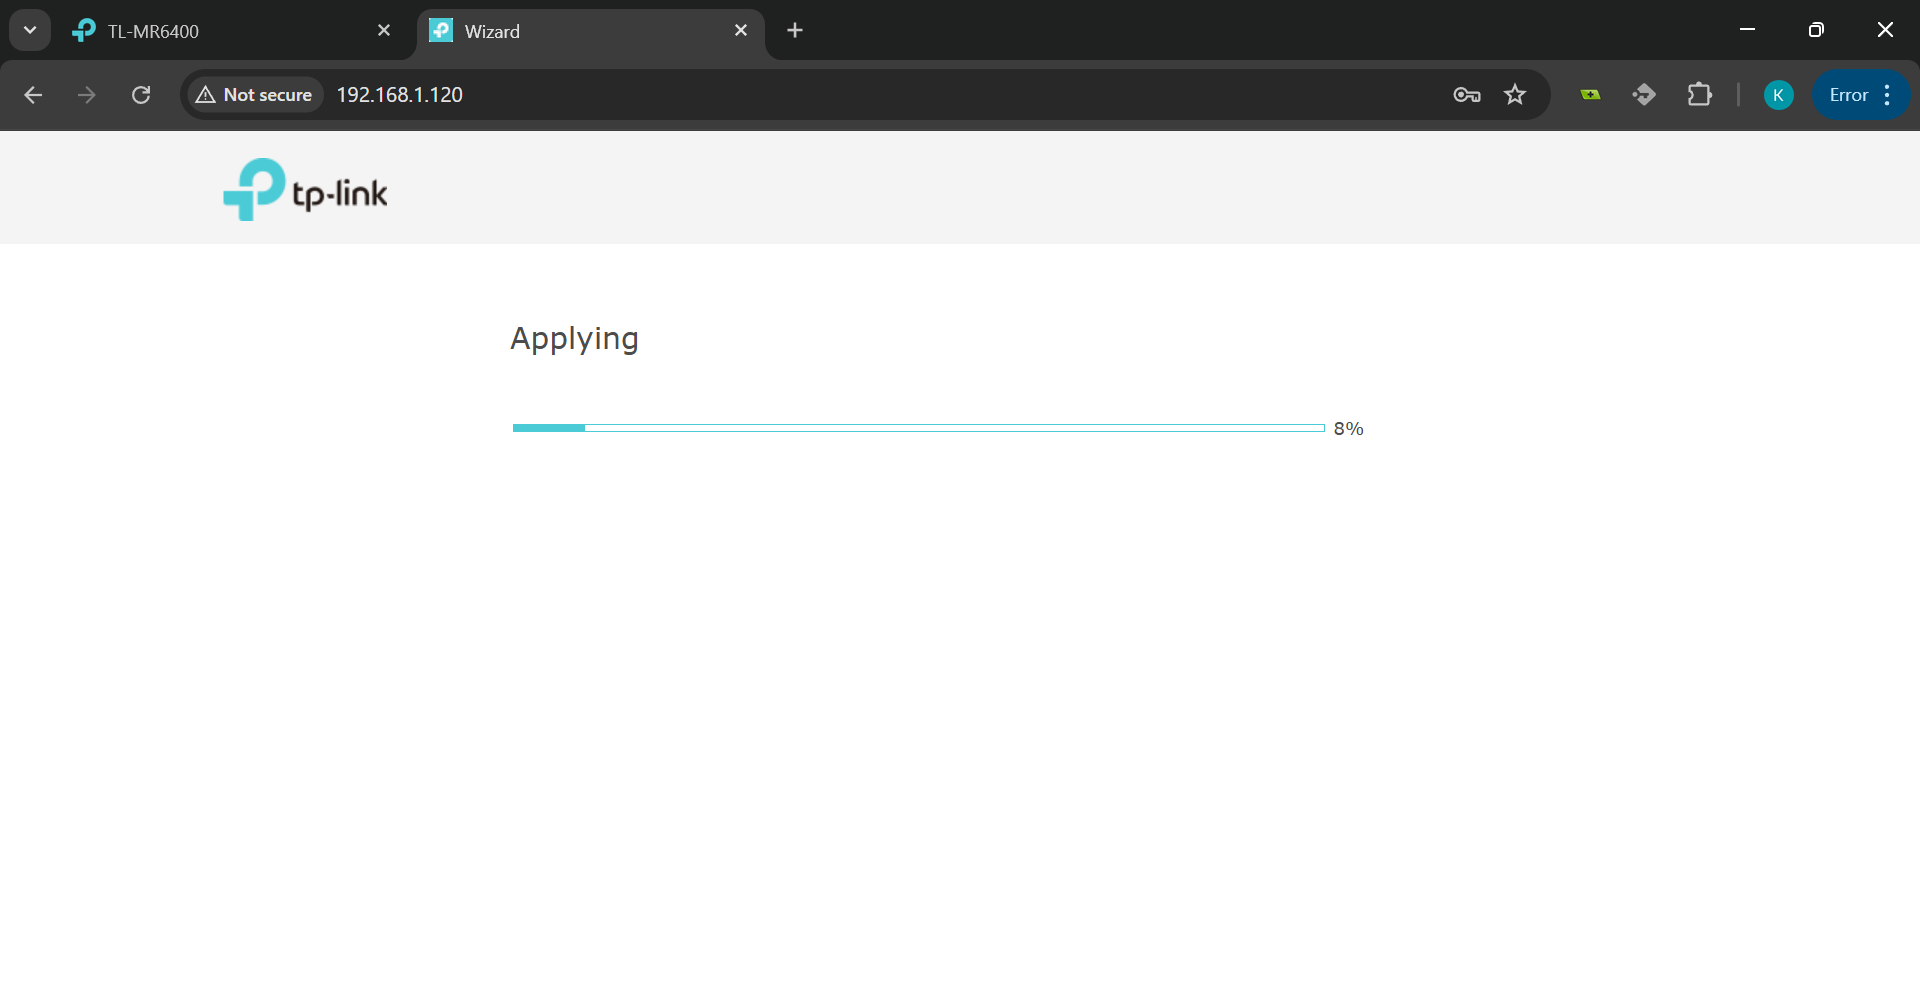
11. Wait for Settings to Apply
The AP will apply the new settings. A loading bar will be displayed during this process.
12. Confirmation Page
Once the settings are saved, a success page will appear prompting you to reconnect to the updated network.
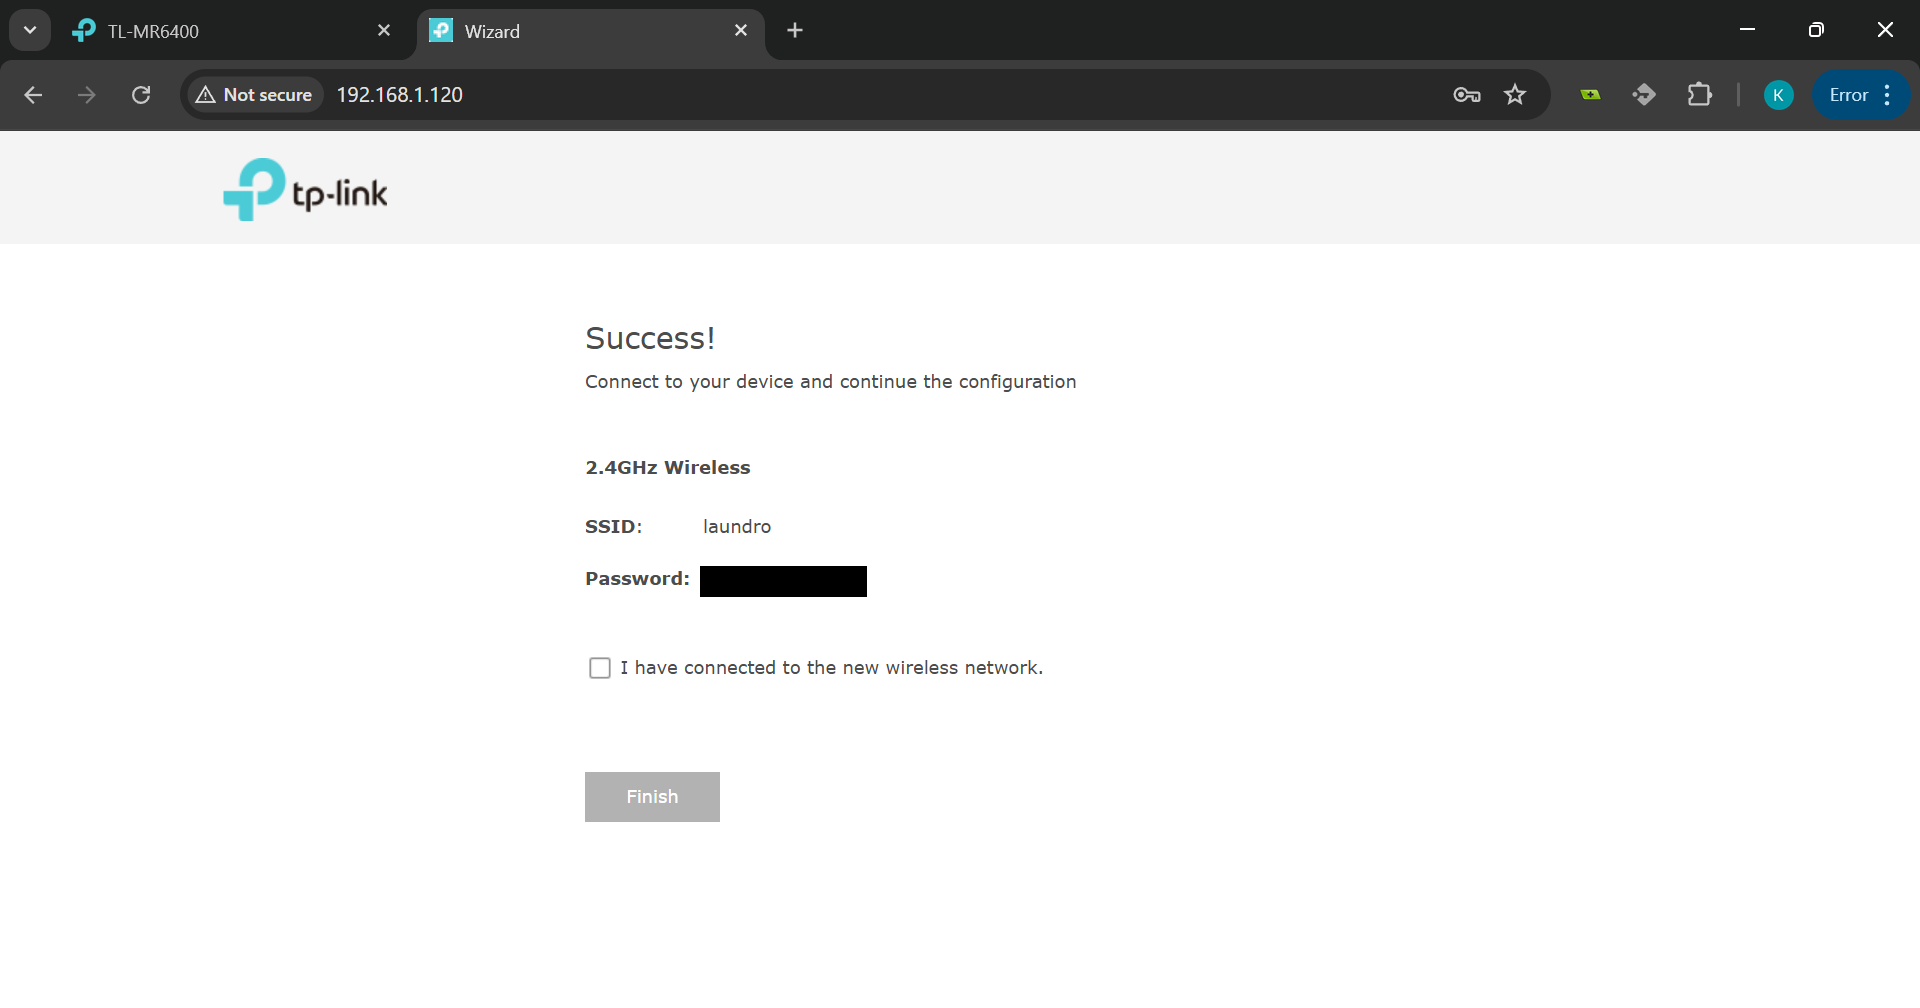
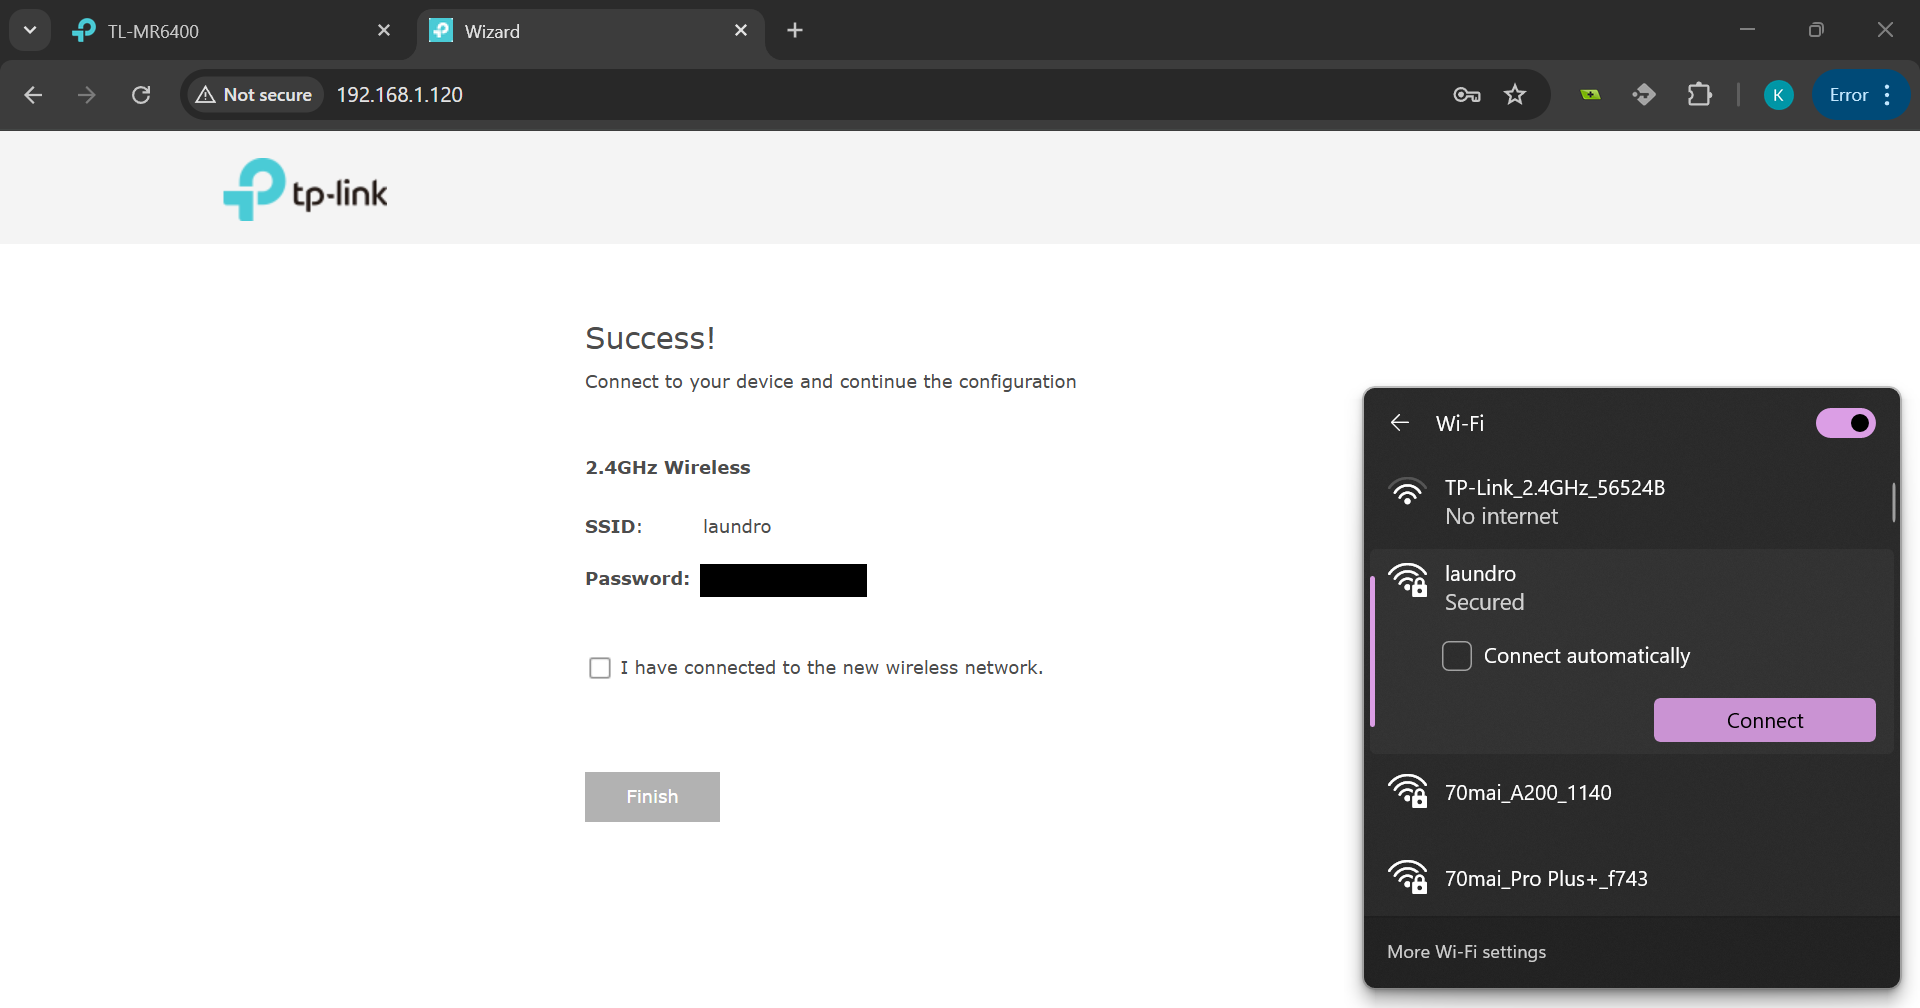
13. Reconnect to the Original SSID
Reconnect to the original SSID (e.g., laundro), check the box that says "I have connected to the new wireless network", and click Finish.
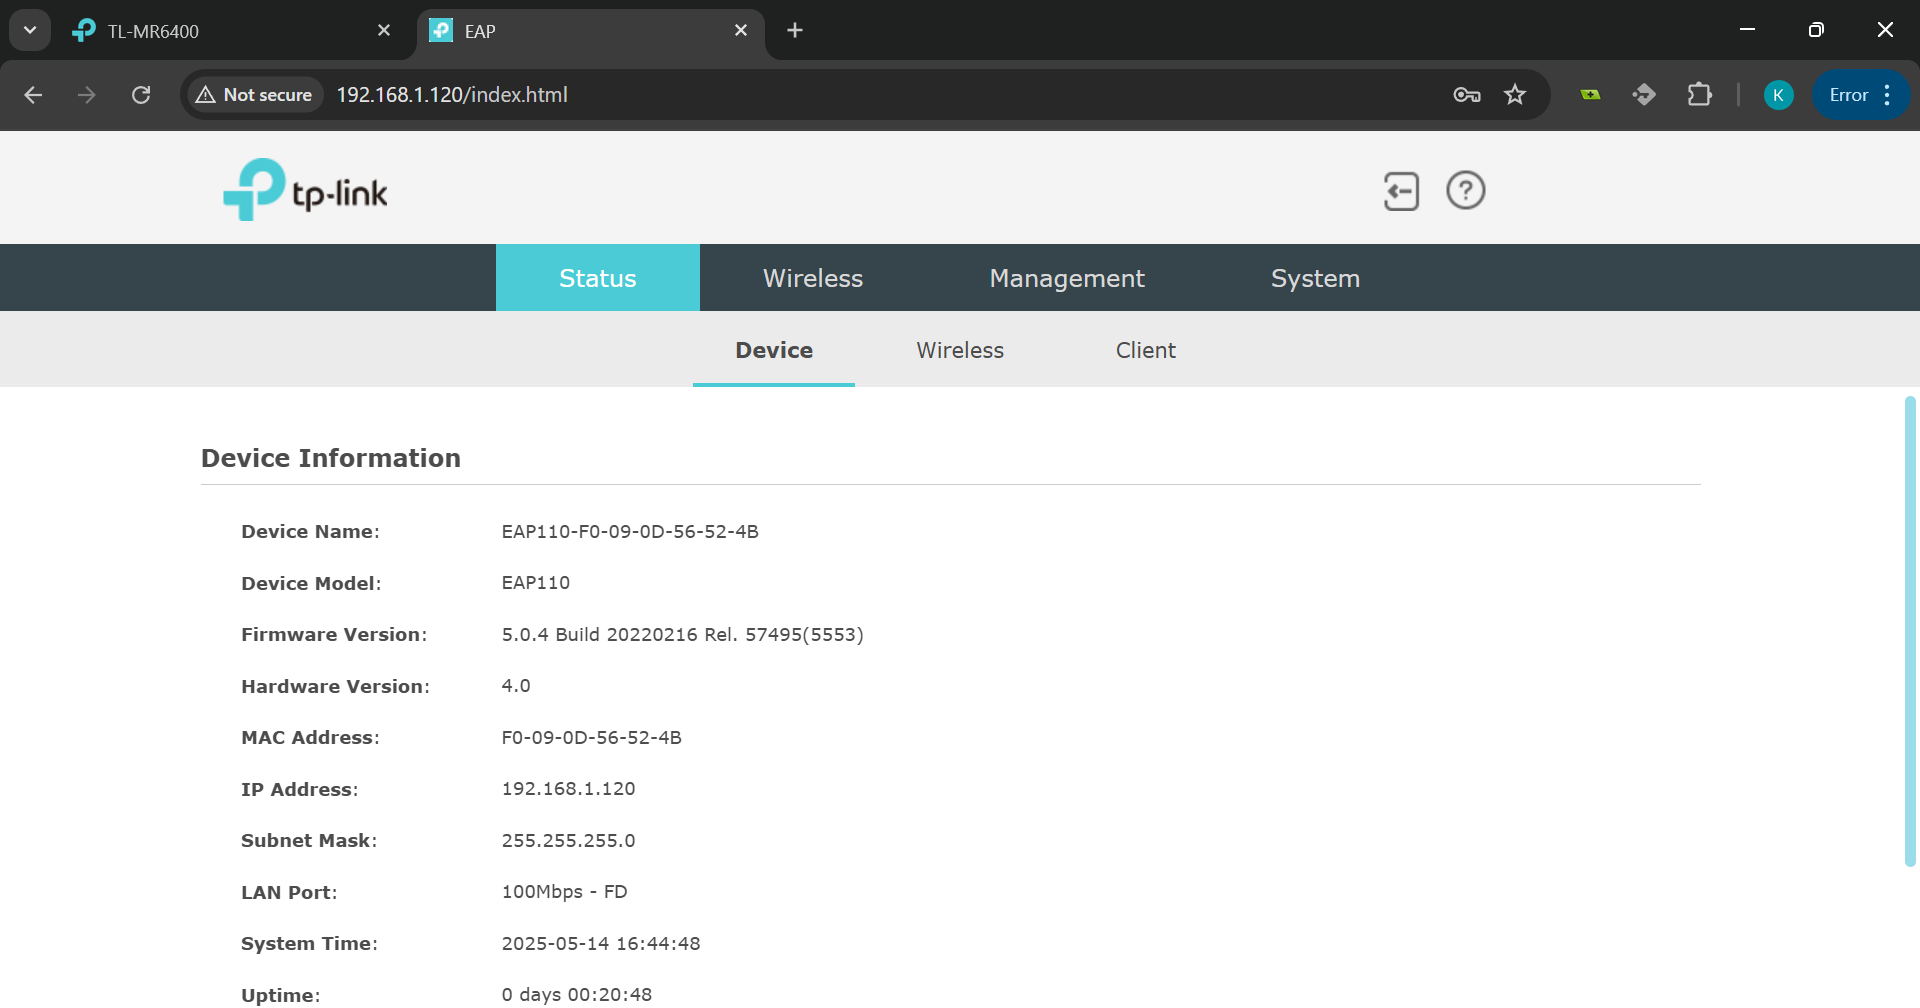
14. Verify AP Setup
You will now be directed to the AP’s home page. Confirm that the setup has been completed successfully.
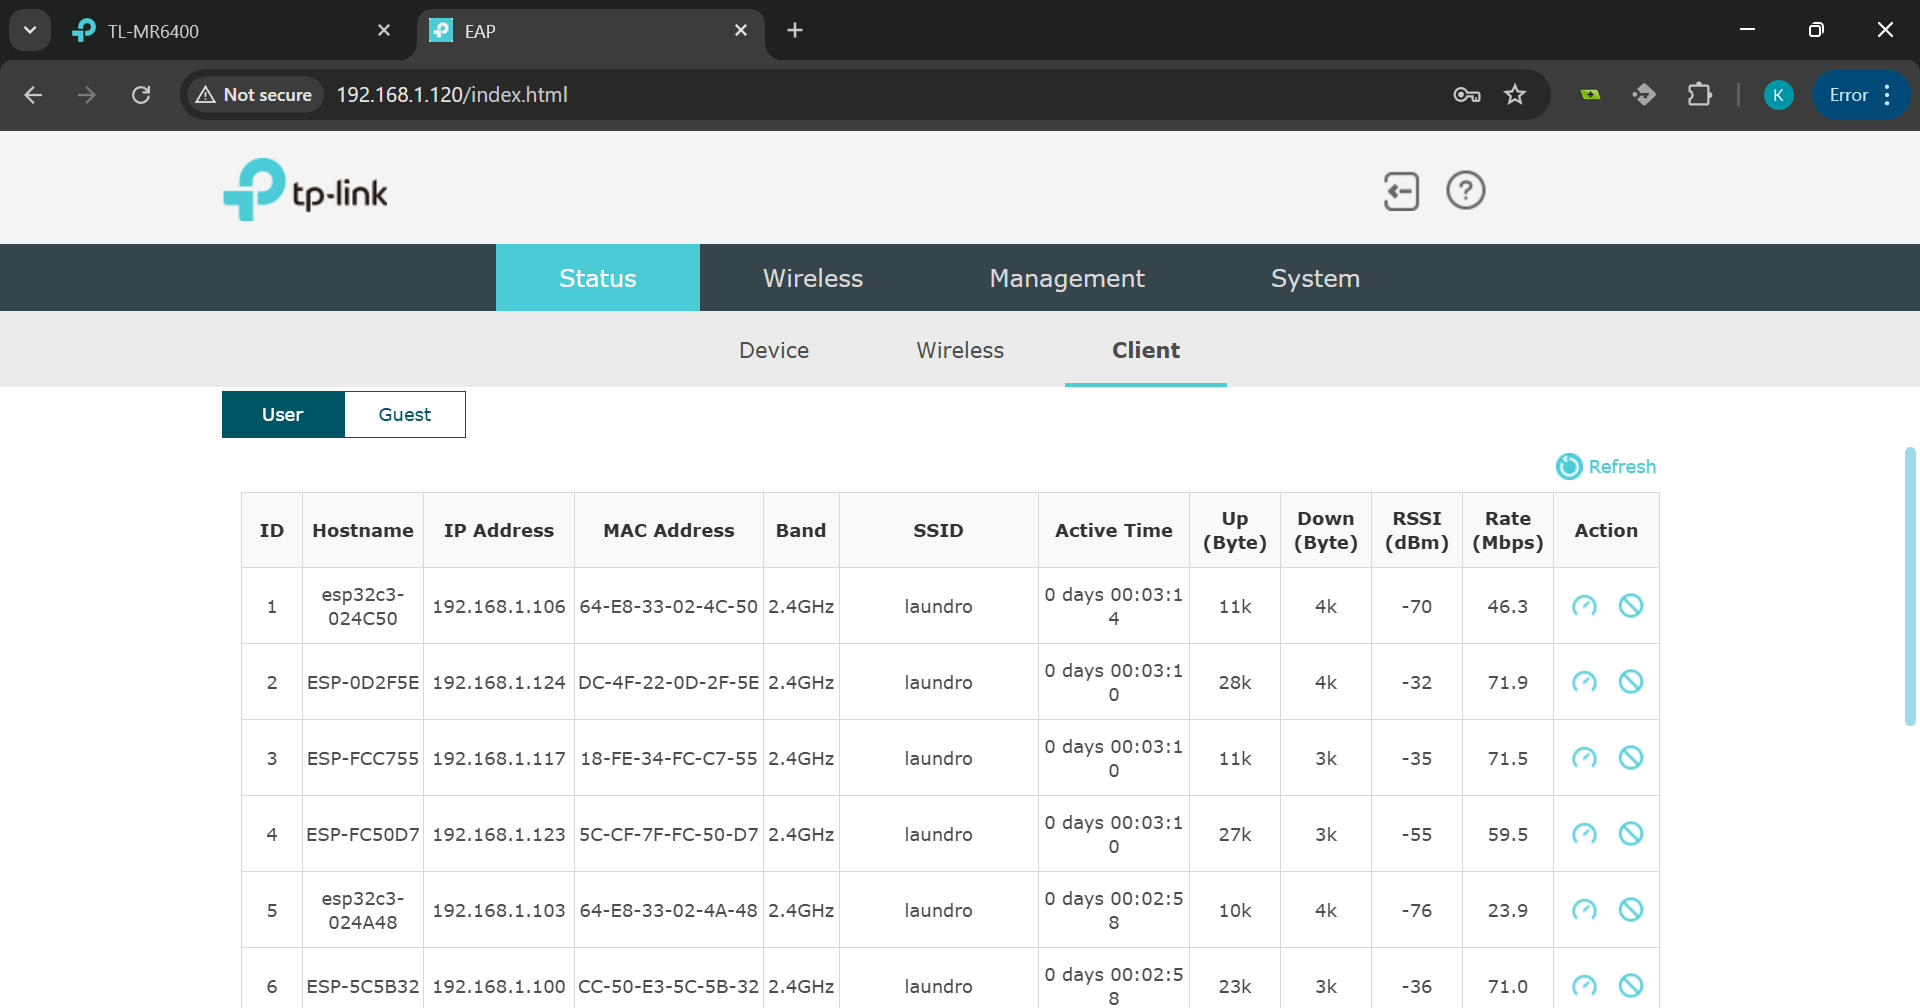
15. Check Connected Devices
16. Reopen the Router Settings
In your browser, go back to the router's IP address (e.g., 192.168.1.1) and log in again.
17. Disable the Router’s SSID
Go to the Wireless tab in the router settings. Uncheck the Enable SSID checkbox to disable the router's own wireless network. Click Save.
18. Final Verification
Verify that all devices are online via NodeCloud, and confirm that only the original SSID (now being broadcast by the AP) is active.