Kiosk Configuration
Kiosk Configuration
Follow these steps to configure the kiosk.
Step 1: Open Kiosk Settings and Log In
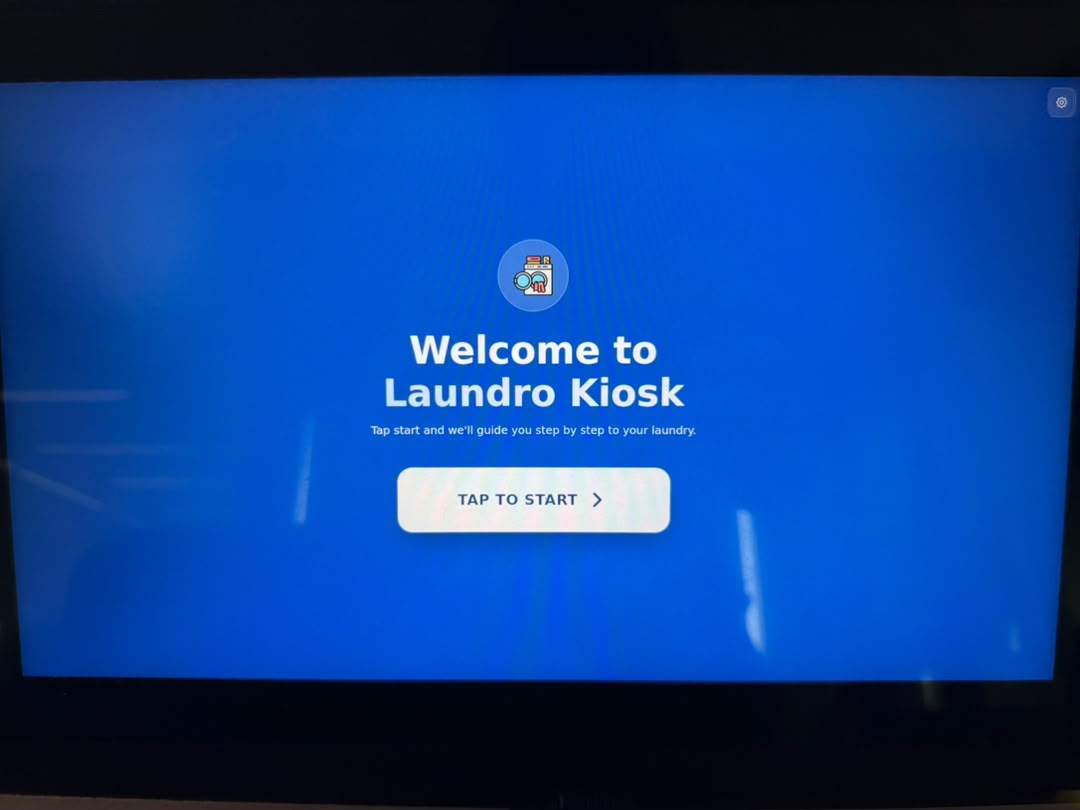
- Go to the kiosk home screen.
- Click the Settings (⚙️) icon in the top-right corner of the screen.
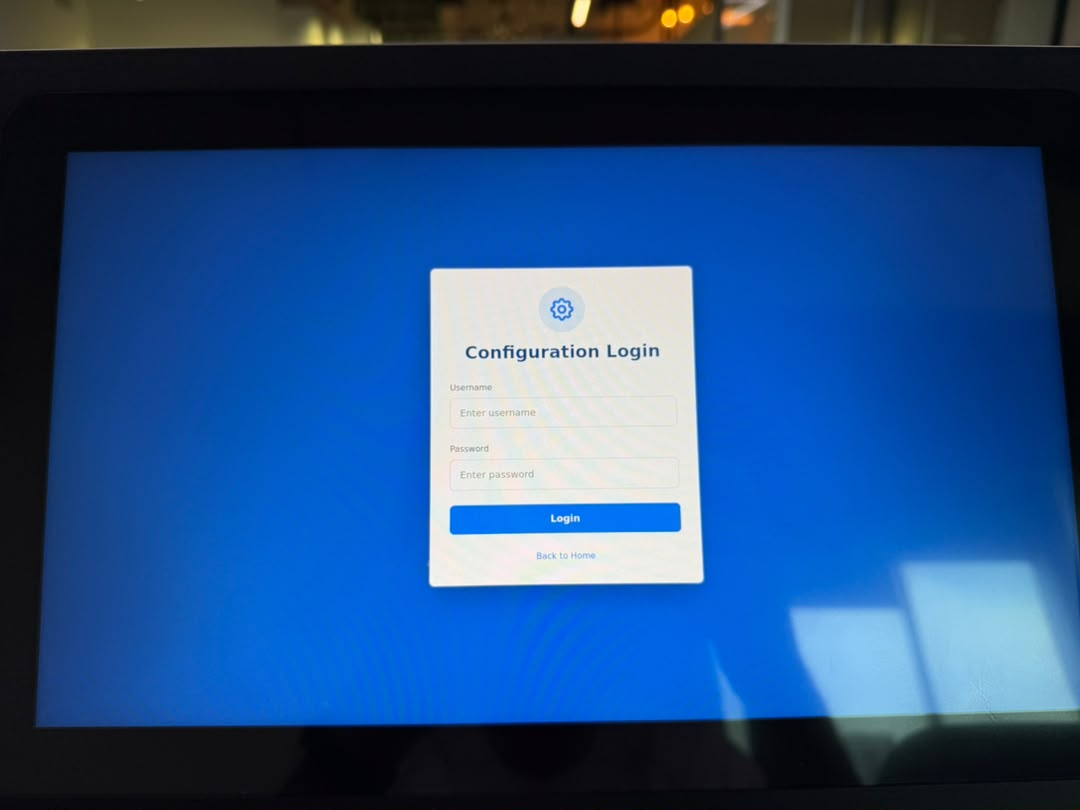
- Enter the configuration login credentials:
- Username:
admin - Password:
admin
- Username:
- Click Login to access the kiosk configuration page.
2. Configure the Outlet
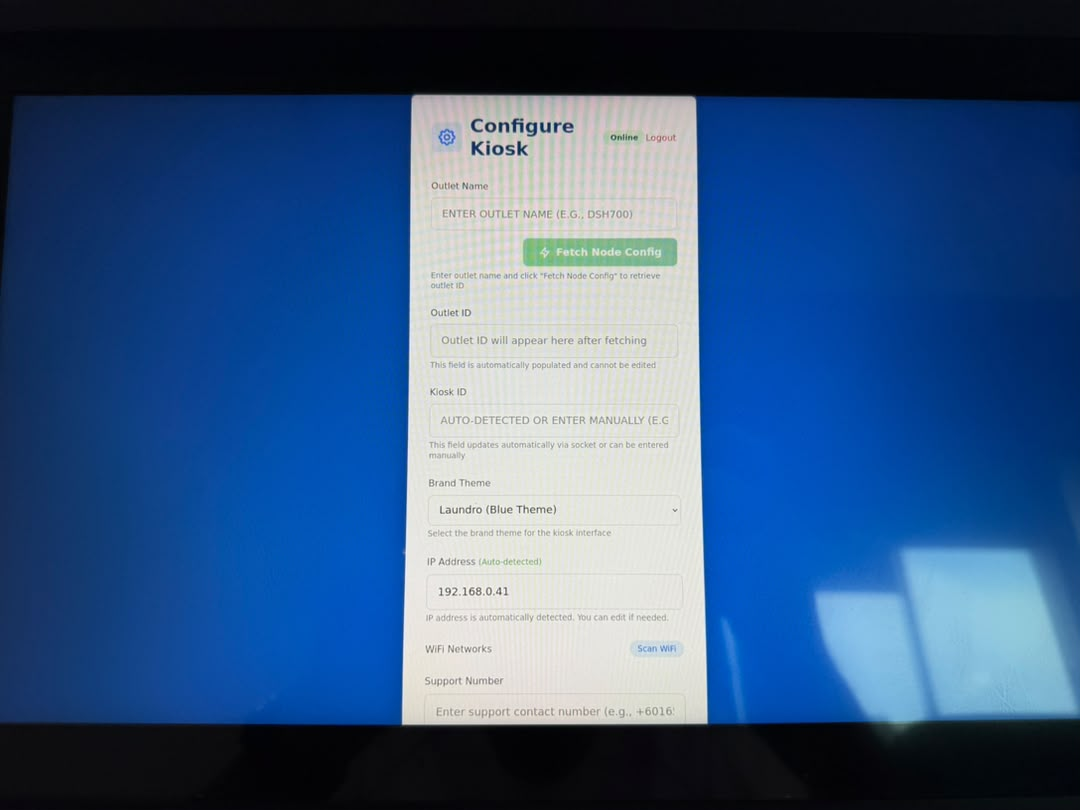
- In the Configure Kiosk page, enter the Outlet Name.
- Click Fetch Node Config.
- In Node Cloud, click Configure.
- Complete the required configuration and click Submit.
Step 3: Configure Payment Gateway and Save
- On the kiosk configuration page, locate the QR Code Payment section.
- Enable QR Code Payment if it is not already enabled.
- Select the required Payment Gateway from the dropdown menu.
- Example: Razer (Fiuu) DuitNow
- Enter the Customer Support Number in the Support Number field.
- Click Save Configuration to save your settings.
- Click Sync All Data to synchronize the kiosk configuration and data.
- Return to the kiosk home screen and verify that the configuration is complete.
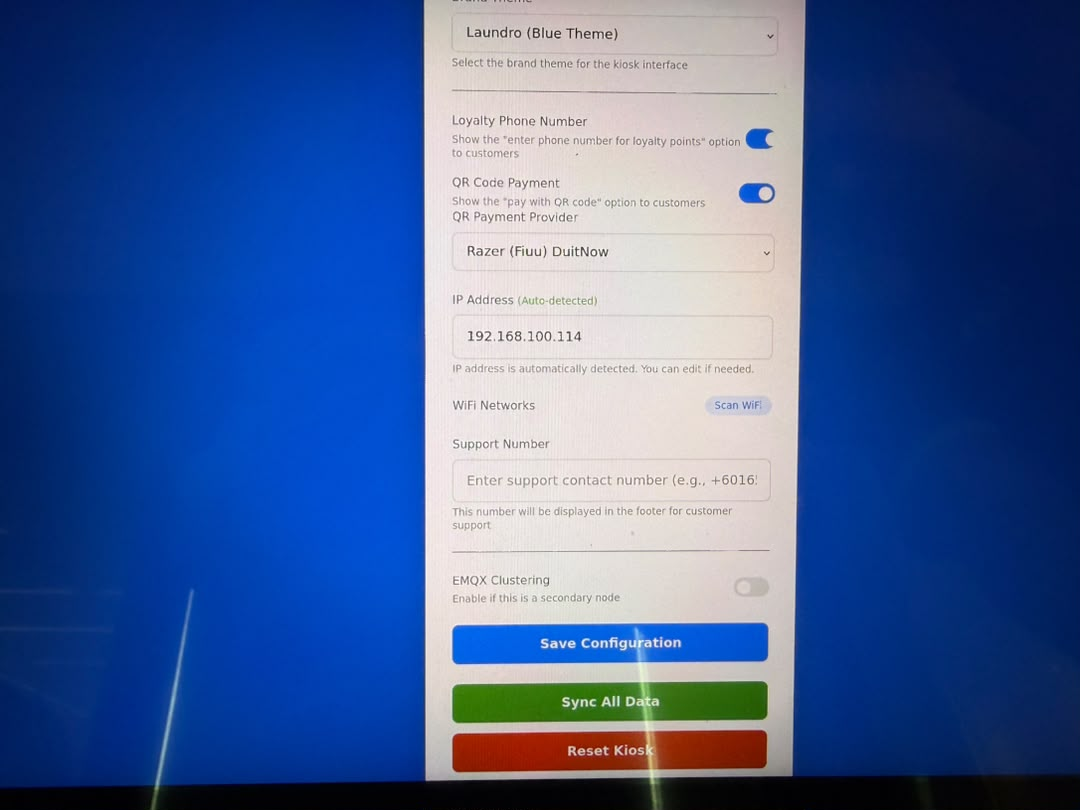
Configuration complete.
Update Kiosk IP
After completing the configuration, open Node Cloud.
For all machines, click the Update Kiosk IP button. Refer to the diagram below.
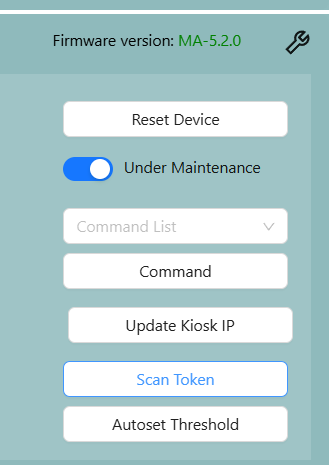
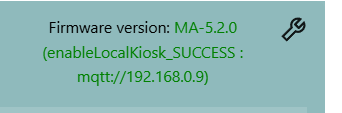
Once successfully updated, the status enableLocalKiosk_SUCCESS will appear. Refer to the diagram below.